Fujitsu LifeBook N3510 Top Palm Rest Cover Replacement
ID: 4985
Description:
Steps:
- Locate the two clips on the bottom of the computer that support the battery.
- Using your fingers, push the clips inward and then upward.
- Lift the battery out of the computer.
- Use a spudger to lift the back of the hinge cover on the left and right sides of the computer.
- Lay the computer flat on a stable surface with the monitor pointing away from you.
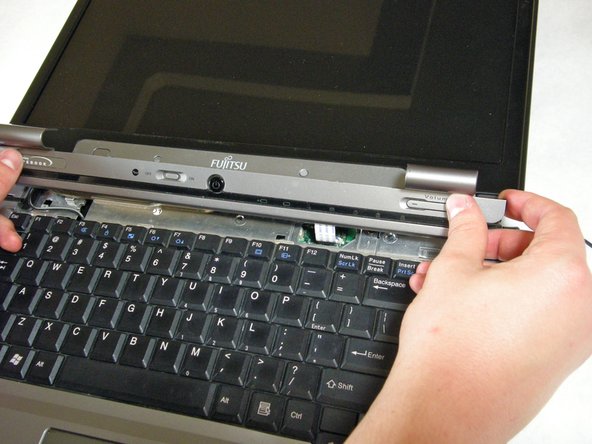
- Use a spudger to partially lift the hinge cover.
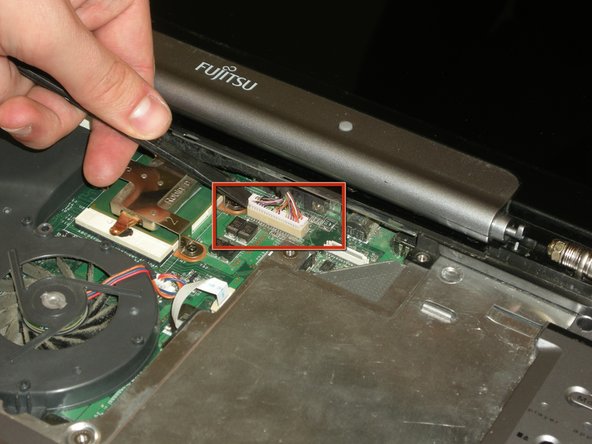
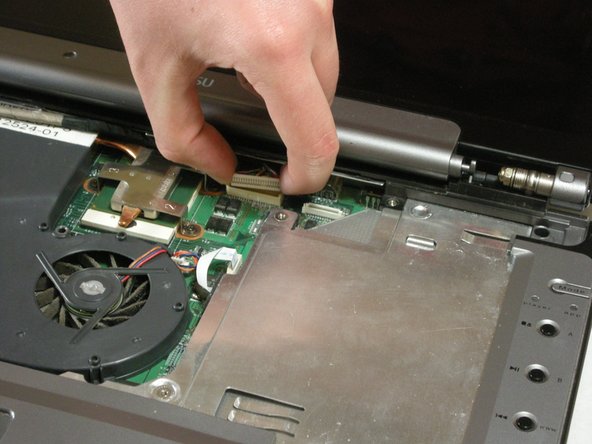
- The hinge cover has a ribbon cable that is attached to the motherboard. To prevent damage, lift the hinge cover slowly.
- Lift the hinge cover enough to expose the ribbon cable.
- Disconnect the ribbon cable from the motherboard and remove the hinge cover from the computer.
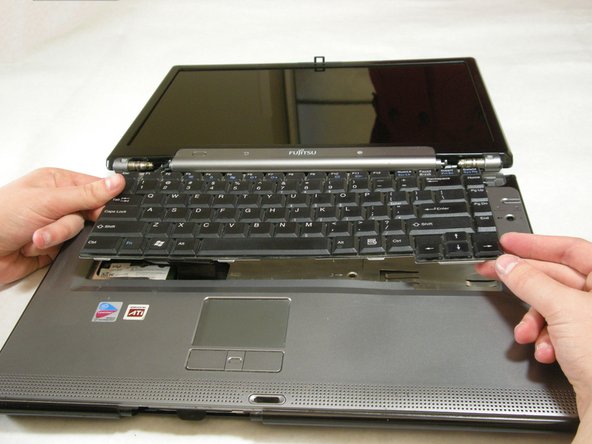
- The keyboard has a ribbon cable that is attached to the motherboard. To prevent damage, lift keyboard slowly.
- Lift the keyboard enough to expose the ribbon cable.
- Use a spudger to release the ribbon cable from the motherboard.
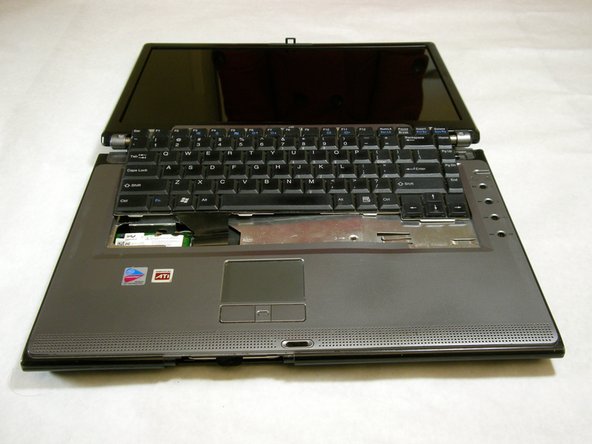
- After the ribbon has been detached, carefully remove the keyboard.
- Remove the following screws, all labeled "3."
- Two 8.63mm screws.
- One 7.65mm screw.
- One 5.74mm screw.
- Remove the following screw, labeled "15."
- One 17.81mm screw.
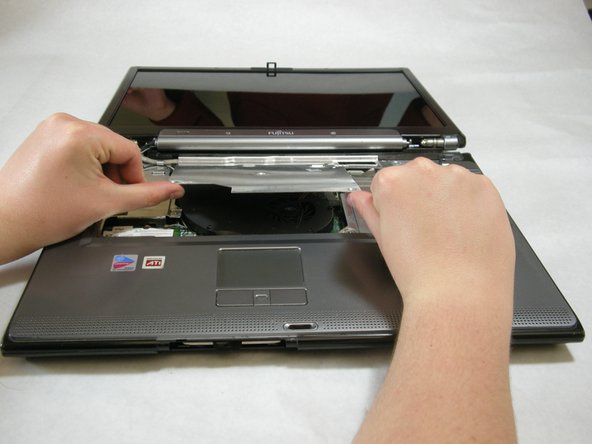
- Lift the cover with fingers and remove.
- Remove labeled screws.
- Remove the screws from the bottom of the hinge as shown in the image.
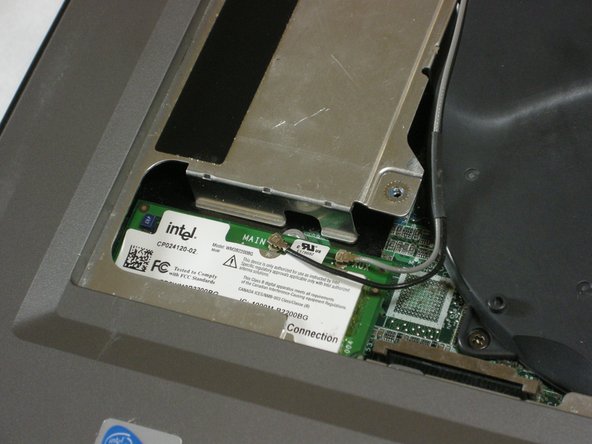
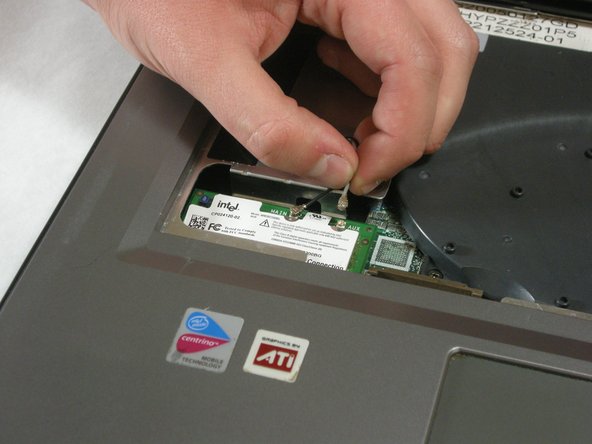
- Use a spudger to detach and remove cables from the motherboard.
- Unplug highlighted cables from the wireless module.
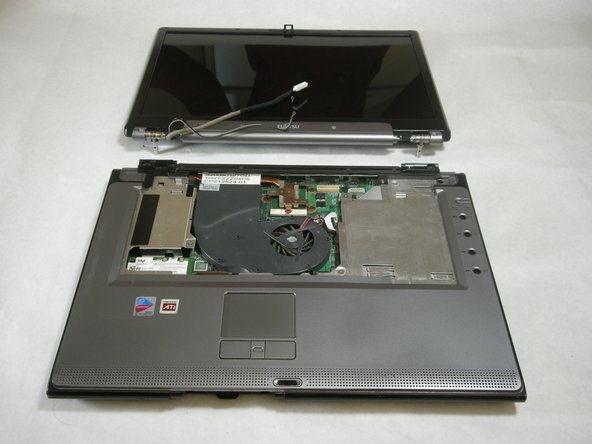
- Hold down the body of the computer by placing your hands in the pictured positions. Then, lift the display from the body.
- Remove the 4 labeled screws.
- Remove screws from bottom of laptop as shown in the picture.
- Lift the palm rest cover from the base of the laptop.
- You may use spudger if needed, lift from the front corners as shown.
- Great job! You have successfully removed the old palm rest cover.


