Nintendo DSi XL Upper Screen Replacement
ID: 3570
Description: Get a better view of whats going on in your...
Steps:
- Use a push pin to remove the four plastic screw covers on the front bezel.
- Remove four Phillips screws securing the front bezel to the rear bezel.
- Using two hands, gently slide the rear bezel upwards.
- The rear bezel will move only about 2 mm.
- Insert a spudger into the gap between the front and rear bezel
- Rotate the spudger away from the DSi XL, prying the two bezels apart.
- In the same manner as described above, continue prying along the top edge of the front and rear bezels.
- Separate the rear bezel from the front bezel.
- Do not attempt to completely remove the rear bezel yet. It is still attached to the front bezel by the rear-facing camera.
- Use the flat end of a spudger to pry the rear camera off the rear bezel.
- Remove the rear bezel.
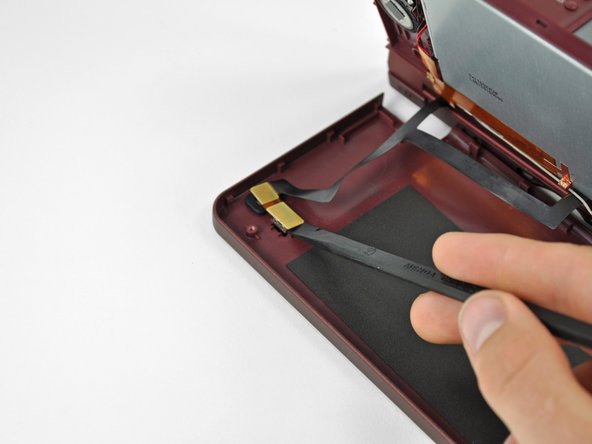
- Using the flat end of a spudger, pry the Wi-Fi antenna out of its housing from within the front bezel and move it aside.
- Using the flat end of a spudger, pry the left speaker out of its socket on the front bezel.
- De-route the speaker cable along the top edge of the screen.
- Work carefully and slowly, holding onto the wire and not the speaker itself. The solder joints may break if pulled on too hard.
- In the same manner as described above, remove the right speaker from its socket on the front bezel.
- Place both speakers on the back of the upper LCD.
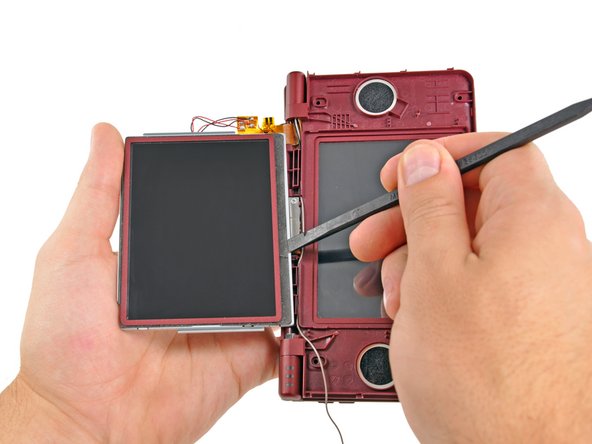
- Open the DSi XL.
- Carefully push the upper display assembly through its housing in the front bezel.
- The upper display assembly is held in place via adhesive to the front bezel. Push firmly, being careful not to break the upper LCD.
- Rotate the upper display assembly out of the front bezel.
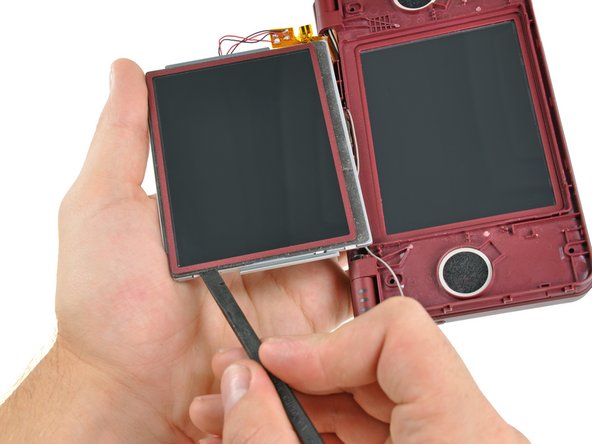
- Insert the flat end of a spudger underneath the adhesive strip that secures the front screen to the upper LCD.
- Slide the spudger along the bottom side of the upper LCD, freeing the adhesive along that edge.
- In the same manner as previously described, detach the adhesive along the left edge of the upper LCD.
- In the same manner as previously described, detach the adhesive along the right side of the upper LCD.
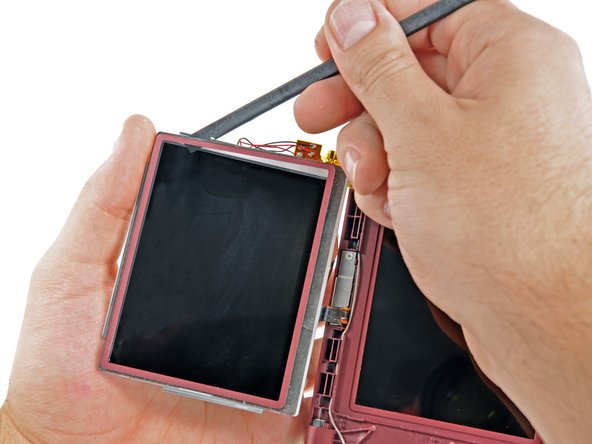
- Carefully lift the upper screen from the bottom edge.
- Pull the upper screen away from the upper LCD.