Sega Game Gear Screen Replacement
ID: 2348
Description: A guide to installing a replacement screen on a...
Steps:
- Place your device upside down and locate the two battery compartments.
- Press on the tabs at the bottom of the battery covers then lift up to remove.
- Remove batteries if they are present.
- Remove the following screws:
- Six Phillips screws
- One 4.5 mm Gamebit screw
- Use tweezers to take all other screws out.
- Gently open the case by unfolding it over the top of the Sega Game Gear.
- Do not pull the back of the case away, as cables are connected between both sides.
- Carefully unplug the 2 white-tipped connectors on the top cover.
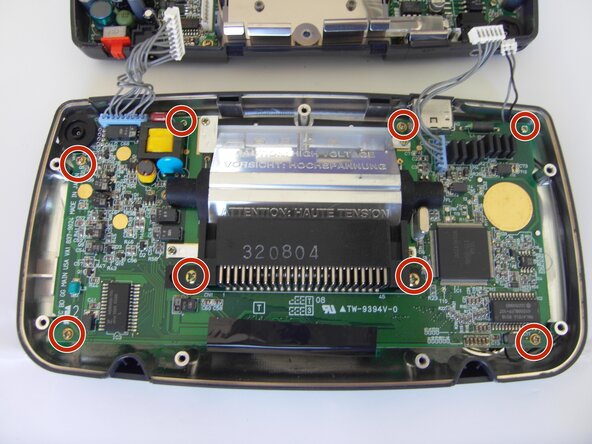
- Unscrew all the marked screws.
- Slide the logic board out from under the circular black fastener at the top-left corner of the case.
- Place the board onto a flat surface.
- Small plastic buttons may fall off during this process, save them in a container or a place where they could be found later on.
- Unscrew the marked screws.
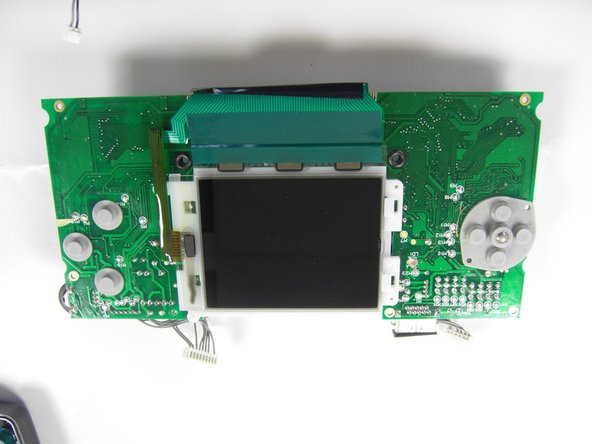
- Flip the board, having its back facing up.
- Hold onto the screen in the back, as it will flip open if not held onto.
- Make sure the screen is towards the bottom, as indicated in the second picture.
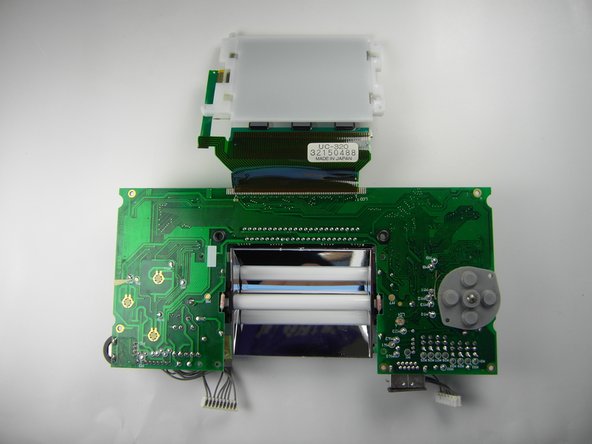
- Gently open the screen up.
- The screen will not come out all the way since it is glued onto the top side.