Nintendo Wii DVD Drive Replacement
ID: 5164
Description: Use this guide to replace a broken DVD drive....
Steps:
- Use a metal spudger to remove the white plastic screw covers stuck to the lower case near the front of the Wii.
- Remove the two 8.3 mm Tri-Point screws hidden under the covers you just removed.
- Remove the single 5.9 mm Phillips screw under the controller port door nearest the faceplate.
- Use a metal spudger to remove the rubber foot stuck to the side of the Wii near the DVD drive opening.
- Remove the single 5.9 mm Phillips screw hidden under the foot you just removed.
- Carefully pull the faceplate away from the front of the Wii.
- Use a pair of tweezers to disconnect the LED cable's plastic connector from the motherboard.
- Remove the faceplate.
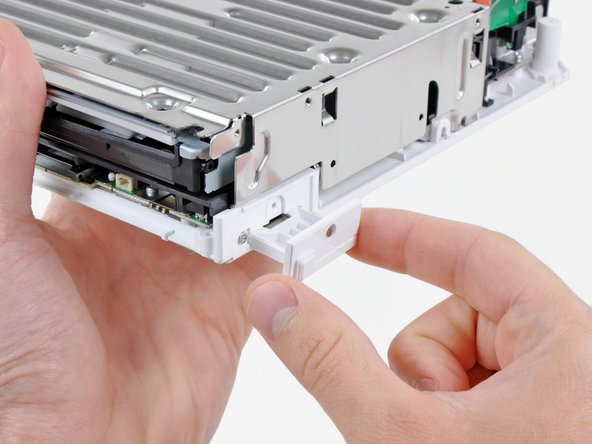
- Open the controller port cover until it is perpendicular to the black controller port bezel.
- Pull the controller port cover straight up to release it from the outer case.
- Repeat this procedure for the memory card port cover.
- Remove the two remaining 4.1 mm Phillips screws along the top edge of the black plastic controller port bezel.
- Lift the bezel from the long edge furthest away from the controller ports and remove it from the Wii.
- Remove the two 5 mm Phillips screws above the controller ports.
- Use a metal spudger to remove the three highlighted screw covers stuck to the side of the Wii.
- Remove the following screws:
- Two 5 mm Phillips screws
- One 8.2 mm Tri-Point screw
- Use a metal spudger to remove the two rubber feet stuck to the bottom face of the Wii near the rear ports.
- Remove the two 8.2 mm Tri-Point screws hidden under the feet you just removed.
- You may use a 4 mm hex driver to extend your bit into the recesses and reach the screws.
- Lift the outer case straight up off the body of the Wii.
- Remove the small Phillips screw securing the battery door to the bottom panel.
- This screw is captive to the battery door.
- Pull the battery door out of the Wii.
- The system time will be reset once you remove the battery door.
- This is a good time to change the CR2032 battery if it hasn't been changed recently.
- Remove the 8.2 mm Tri-Point screw that was hidden beneath the battery door.
- Remove the two 8.2 mm Tri-Point screws securing the DVD drive shield near the controller ports.
- Be cautious as you remove the DVD shield, the edges are sharp and could cut you
- Lift the DVD drive shield upward and remove it from the Wii.
- Remove the four 9 mm #1 Phillips screws securing the DVD drive to the bottom panel.
- Lift the side of the DVD drive opposite the controller ports enough to access the cables on its bottom face.
- Carefully pull the DVD drive power cable out from under the plastic shroud near the heat sink.
- Pull the DVD drive power cable away from its socket on the DVD drive.
- Use your fingernail to flip up the retaining flap on the DVD drive ribbon cable socket.
- Be sure you are prying up on the retaining flap, not the socket itself.
- Pull the DVD drive ribbon cable out of its socket.
- Remove the DVD drive from the Wii.
- The following steps are only necessary if your replacement Wii DVD drive does not include the four rubber grommets along the front and rear of the DVD drive housing.
- Insert the tip of a long, skinny screwdriver into the hole in the center of the first grommet on the rear of the DVD drive housing.
- Pull the grommet straight away from the DVD drive housing until it is free.
- Repeat the procedure described in the preceding step for the second rubber grommet on the rear of the DVD drive housing.
- Set the DVD drive on its side, with the two rubber grommets along the front of the drive facing you.
- Insert the end of the skinny screwdriver into the hole in the center of the lower rubber grommet along the front of the DVD drive housing.
- Pull the screwdriver straight up until the grommet is free.
- Rotate the DVD drive housing 180 degrees so that it is resting on the side opposite that of the previous step.
- Repeat the procedure in the preceding step to remove the second rubber grommet along the front of the DVD drive housing.