Sharp FX Digitizer/Screen Replacement
ID: 5157
Description: I am not responsible for anything in this article.
Steps:
- Remove - Back,microSD,battery,sim
- Remove black rubber screw covers on back of display.
- Remove 000 phillips screws (4) from top of display.
- Remove 3 small silver screws from battery area.
- Remove 2 Torx t-7's by MicroSD slot.
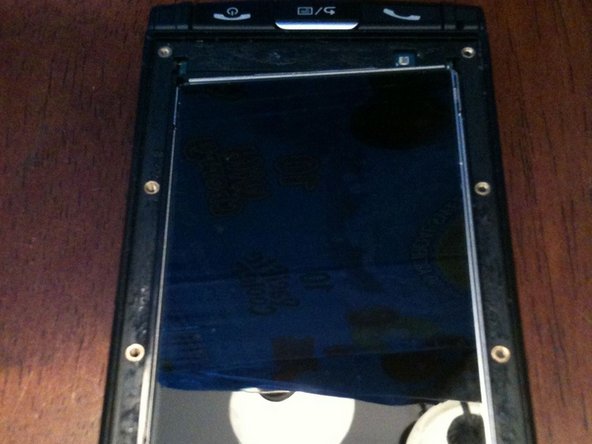
- After screws are removed you can detach screen.
- Remove 4 additional 000 phillips screws from display.
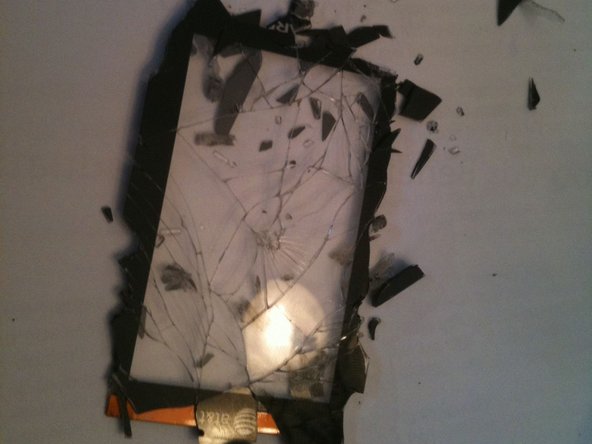
- Using some heat,spudger,frce pry away the broken display from the frame.
- Use extreme caution the actual display is very fragile.
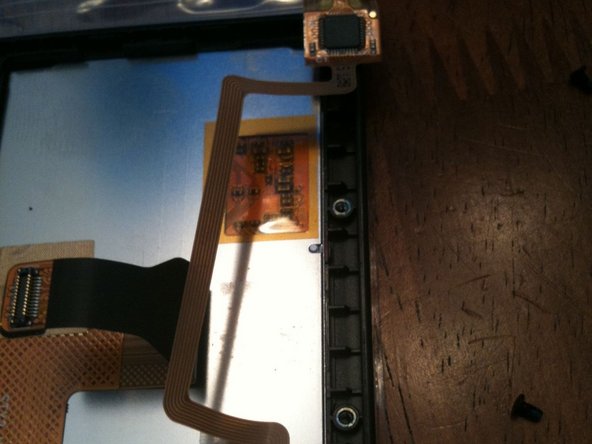
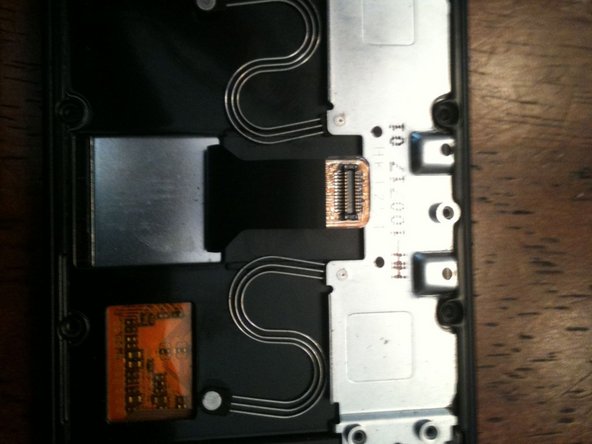
- Remove connector for digitizer
- replace connector with new digitizer and rebuild.
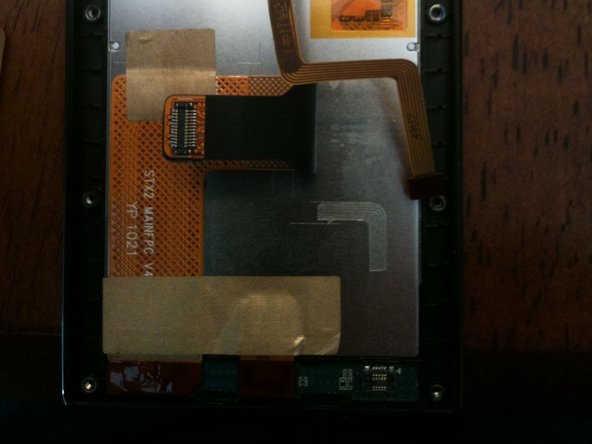
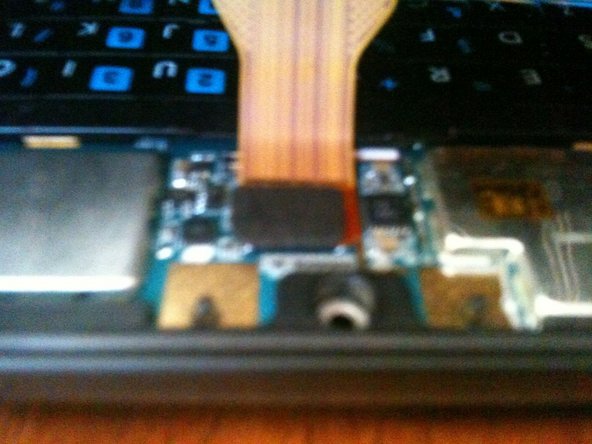
- Reconnect to main motherboard.
- reassemble.
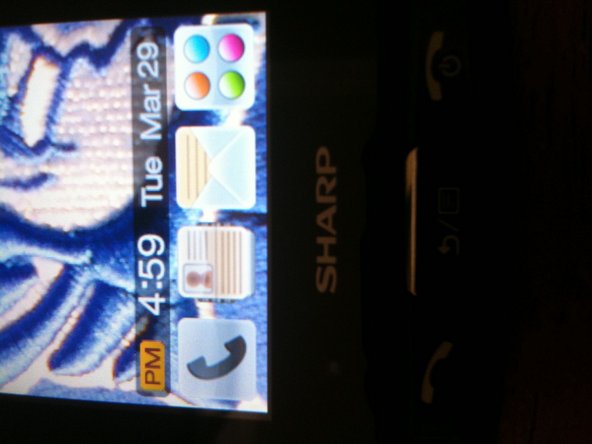
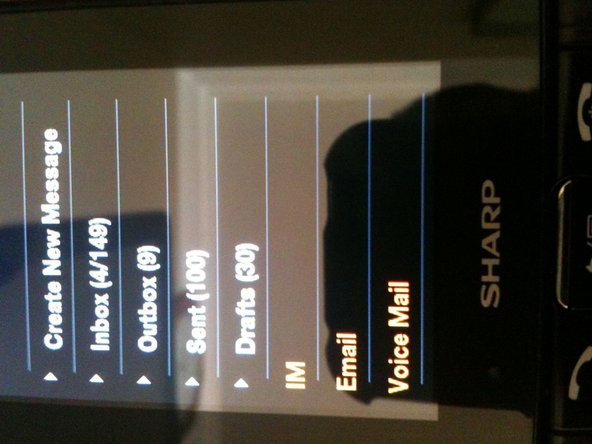
- Enjoy the new display