Replacing a Casio Exilim EX-Z850 Speaker
ID: 5069
Description: If the speaker in your Casio Exilim EX-Z850 is...
Steps:
- Remove the screws on both sides and the bottom of the camera with the Phillips #00 screwdriver.
- The bottom screws are longer than the side screw.
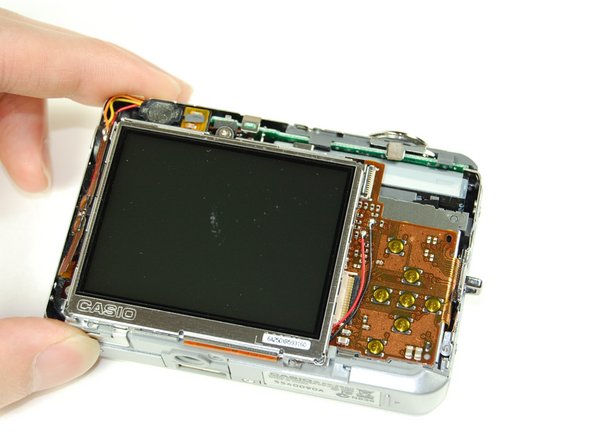
- Gently pry apart the rear casing from the body of the camera.
- Do not pull the casing completely away from the camera or you will damage the ribbon securing the rear casing to the contents inside the camera.
- Use the tweezers to gently peel the ribbon from the contents inside of the camera, leaving it connected to the rear casing.
- Set aside rear casing.
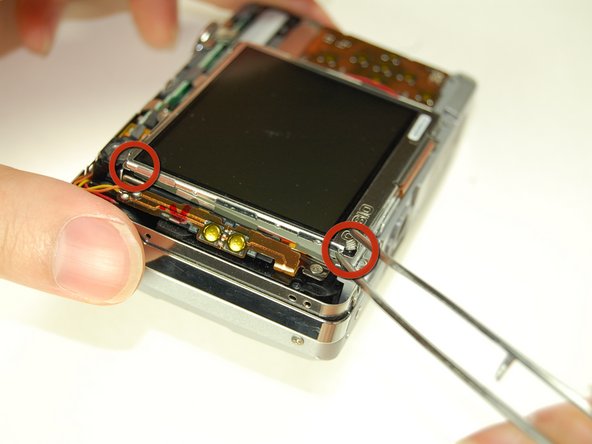
- Use the tweezers to pry the LCD screen from the frame.
- The bottom of the LCD screen is attached to the frame by black tape.
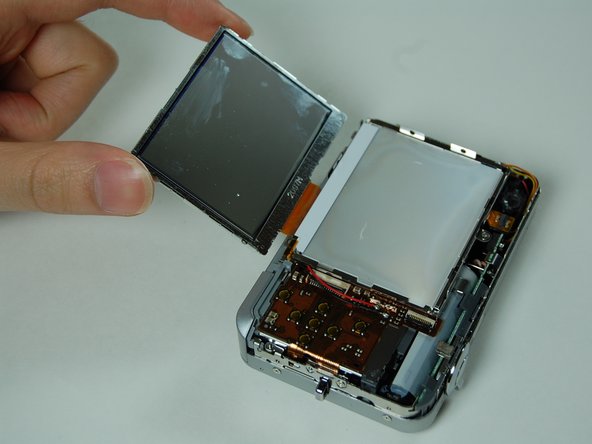
- Use the tweezers to flip the LCD screen to the other side.
- The LCD screen has a ribbon on the bottom of it that is connected to the contents inside of the camera, do not pull it apart.
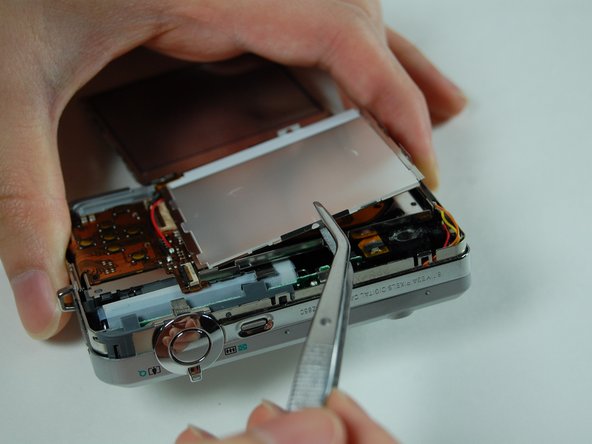
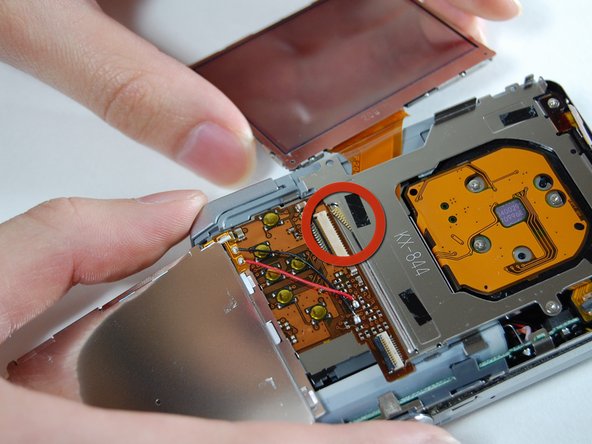
- Pry the LCD casing from the tape that is underneath it and then flip it to the opposite side to expose the contents under it.
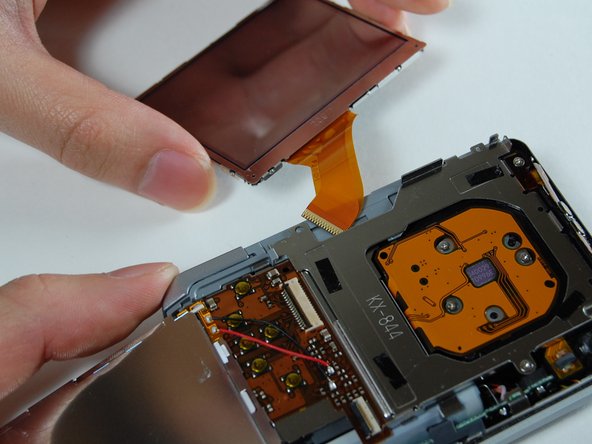
- Use the tweezers to flip open the connector that is holding the ribbon connected to the LCD screen in place.
- Remove the LCD screen with the ribbon from the camera.
- Remove the front casing from the body of the camera.
- Remove two screws on the side where the battery is located using the Phillips #00 screwdriver.
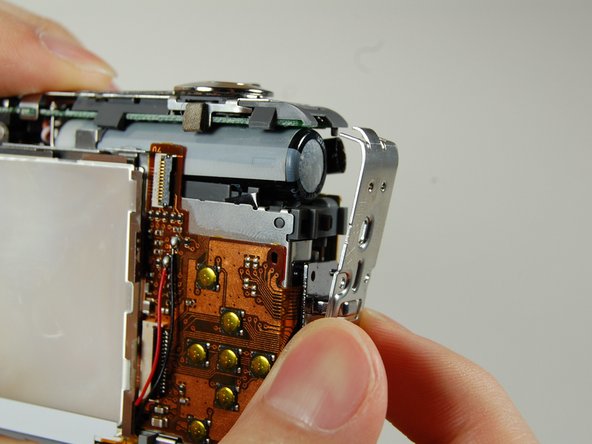
- Pull the side casing so it becomes dislocated from the top of the camera frame.
- On the front of the camera, near the flash flip, there is a connector holding a ribbon. Remove the ribbon from the connector.
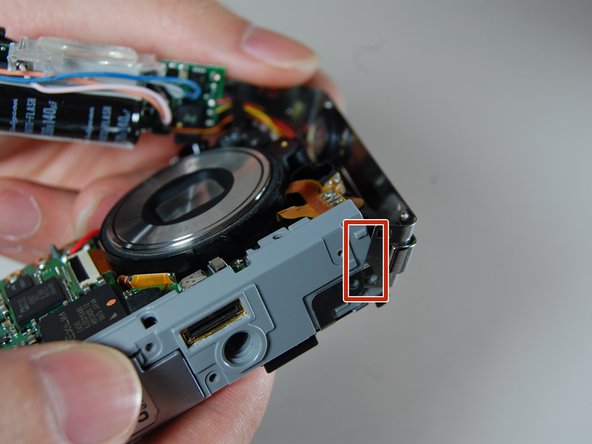
- Carefully remove the L shaped frame from the camera by popping the frame off the bumps and tabs located at the bottom of the camera.
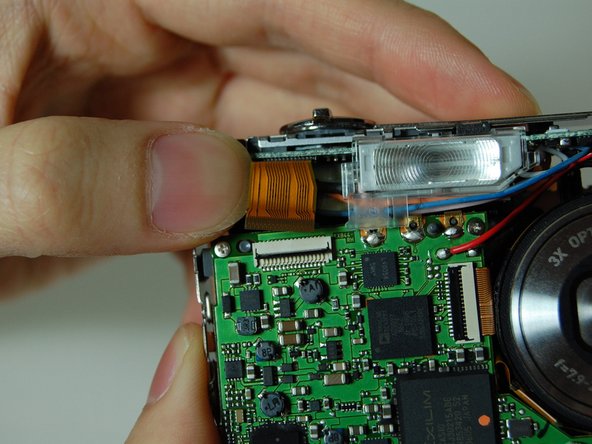
- There is a yellow and orange wire soldered onto the camera. Be careful not to disconnect them.
- The blue box is the speaker.
- Use the tweezers to remove the speaker.