Dreamcast CMOS Battery Replacement
ID: 5020
Description: When a Dreamcast ask for time and date every...
Steps:
- Locate and remove all four black 12mm Phillips #02 screws from the underside of the console.
- Note: Remove the expansion bay to locate the fourth screw
- Internal components can be loose. Be careful that they do not fall out when removing the cover.
- Turn the console right side up.
- Remove the top cover by gently lifting the upper portion of the console.
- Be gentle with the white controller cable as it can be a bit fragile.
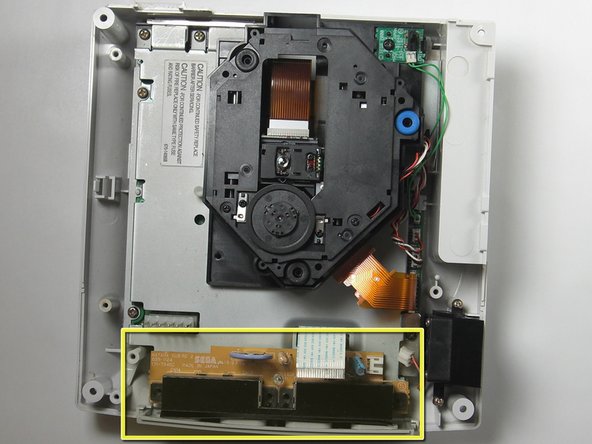
- Disconnect the white controller cable by gently pulling the the cable while wiggling it back and forth until it detaches from the controller board.
- Remove the four 14mm Philips #02 screws located on the controller board.
- Disconnect the white fan header from the controller port.
- Remove the controller board by lifting it up from the controller port.
- Note where the positive and negative terminals go.
- Desolder the old CMOS battery from the controller board.
- Solder the replacement battery holder to two electrical wires.
- Solder the opposite ends of the wires to the controller board. Make sure to match corresponding points on the board with where the previous positive and negative terminals were.
- Reinsert the controller board.
- Attach the battery holder inside with a self adhesive substance, such as double sided foam tape.
- Insert the battery into the battery holder.
- Reverse the disassembly directions to reassemble your Dreamcast.
- Once your Dreamcast is reassembled, go ahead and connect the Dreamcast to your TV or monitor and power, and reset the clock.