How to Clean and Adjust Direct-Pull Cantilever V Brakes
ID: 3800
Description: Brakes slow your bike down when you pull on the...
Steps:
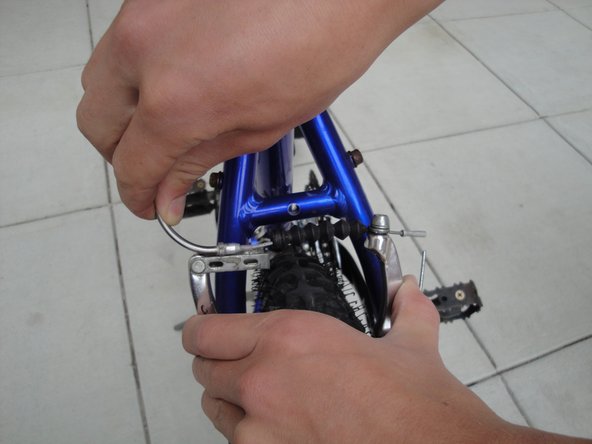
- Squeeze the calipers together, and remove the brake cable.
- Loosen the brake caliper bolt, and remove the brake caliper.
- Inspect the brake pad. If the pad has worn down past the “wear line”, then it needs to be replaced.
- Clean and lubricate the parts as necessary before reattaching the caliper arms.
- Bolt the caliper arms back on while making sure the the pin on the back side of the caliper arm lines back up with the one of the holes in the frame. Each side should be in the same hole.
- Reattach the brake cable to the calipers.
- Loosen the brake pad bolt.
- Get an ordinary piece of paper, and fold it twice over.
- Place the sheet of paper between the brake pad and the rim in the position shown.
- Align the brake pad so that it is flush with the rim, with no part touching the rubber of the tire.
- Have somebody clamp down very tightly on the brakes.
- Tighten the brake pad bolt in place.
- Tighten/loosen the tension adjustment screws on each the caliper arm to adjust the resting distance of each brake pad, so that each pad is equally distant from the rim. Tightening the screw will shift the caliper outward from the bike, loosening it will shift it inward.
- Tighten/loosen the brake adjuster on the handle bars such that when you clamp down on the brakes, the brake lever stops before hitting the handle bar. This will set the distance between the brake pads and the rim.
- Tighten the lock nut on the brake adjuster to permanently set its position.