Disassembling Garmin eTrex Vista H Motherboard
ID: 3709
Description:
Steps:
- Flip the device to the backside, and locate the metal tab at the center of the back cover.
- Lift the metal tab up, and rotate it counterclockwise. This will unlock the back case cover.
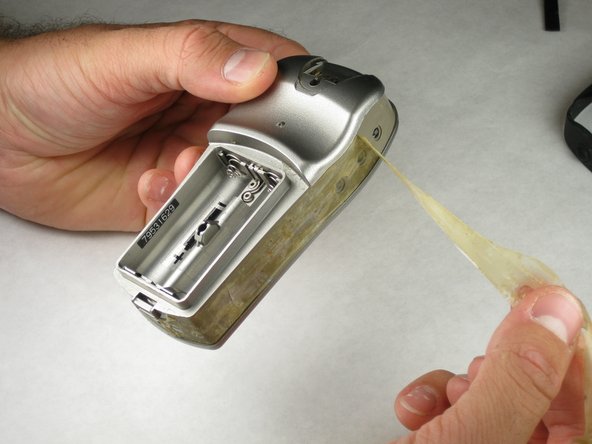
- Lift the battery plate off to either insert or remove 2 AA batteries.
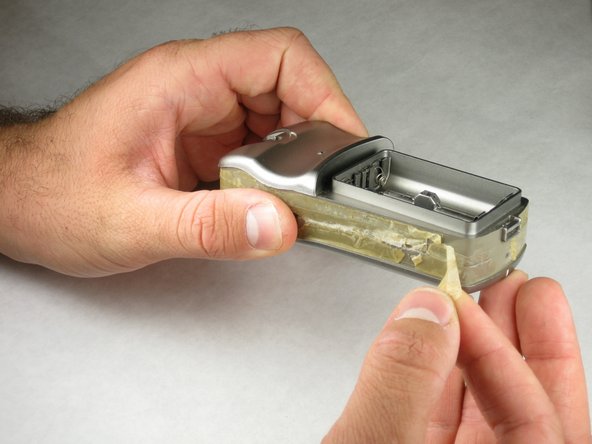
- With the wedge side of a spudger (or a small, flat head screwdriver), remove the black rubber case support from the device body.
- With the pick side of a spudger (or tweezers), peel the sticky tape from the device.
- Split the front and rear panels by inserting a small pointed tool (such as a pen point or a screwdriver tip SL1.5) in the 5 plastic tabs along the sides of the device.
- Do not remove the back panels quickly. If too much force is applied, there is a wire connection that will break.
- CAUTION! Be careful not to force the tabs inward. This will result in broken tabs.
- With tweezers (or your fingernails), carefully disconnect the wires between the PC input and the motherboard.
- The motherboard should look like this. If it is dirty, gently use a small paintbrush to clean it of dust.
- There are no screws holding the motherboard in place.
- Carefully lift the motherboard from the case.
- With the pointed end of a spudger (or the small end of a Philips #00 screwdriver), gently unhook the small black tabs by pressing into the interlocking hooks that are sunk into the white wire connector.
- Gently pull the wire ribbon from the white connector.