Kodak Easyshare z650 Teardown
ID: 3609
Description: Basic teardown of kodak z650 into main...
Steps:
- With camera turned off remove battery and memory cards.
- Remove: 2 screws from right side.
- 2 screws from base.
- 2 screws from left side.
- With battery cover open and camera lens pointing down, gently pry the rear case free.
- Lift LCD clear of metal housing,
- Then, lift tab on connector.
- Slide out ribbon cable.
- Remove the 3 screws from LCD metal housing plate
- And lift off metal housing plate.
- Use fingernails or small flathead screw driver to push black tabs on view finder cable connector away from board connector.
- Slide screwdriver beneath length of flex and gently lift upwards to remove flex from connector.
- Lift flap on lens flex and gently slide flex out.
- Use finger nails to gently pry the small white connector from LCD (bottom right of board) free.
- Be careful, do not pull it by wires.
- Lift board up slightly to reveal 2 ribbon flex and 1 wire connector still attached beneath board-remove flex before lifting board off completely.
- Remove bottom flex first.
- Then use fingernails to gently pull out wire connector from lens.
- And slide tabs on connectors from lens/shutter and lens screen horizontally away from board and then slide flex cables free.
- Slide "off" button to favorites.
- Turn camera upside down and lift front housing over tripod screw.
- Gently prise front housing free of main camera body.
- Clear plastic seal and thin rubber seal on camera lens may drop out as housing is freed.
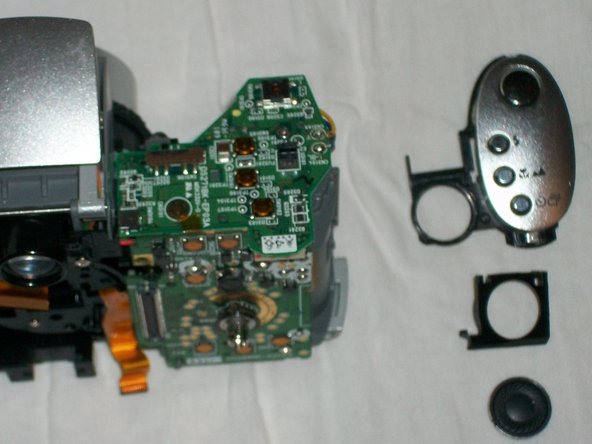
- Use fingernail or small flathead screwdriver to lift plastic tab free from uppermost board.
- Remove button console and speaker/speaker housing from top of camera.
- Remove 2 screws from either side of view finder.
- Remove view finder
- remove 3 screws holding image screen to back of lens.
- take care that cover and seal from screen don't fall off
- Turn camera over so that lens is facing you.
- Remove 3 screws holding barrel of lens to main frame of camera.
- Pull lens barrel towards you, take care as flexes still attached at rear of lens.
- Turn lens over so that rear of lens is facing up.
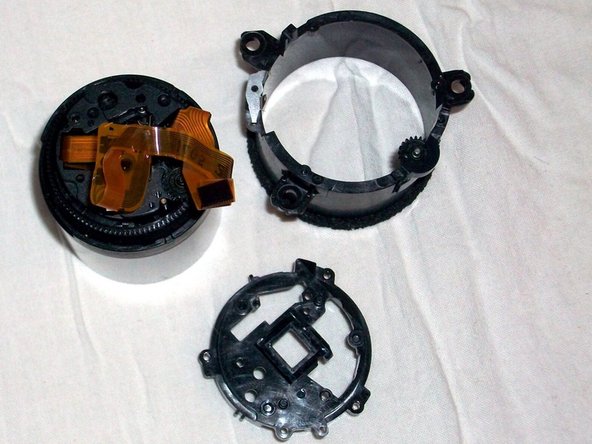
- Lift flex on right of rear lens barrel to reveal screw, then remove 3 screws on rear of lens.
- Remove 1 screw from left side of lens barrel (holding focus flex) optional step.
- Slide flex through openings on rear lens housing to remove housing.
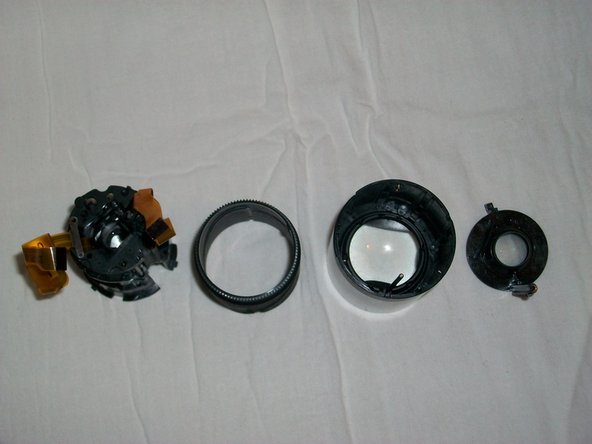
- Hold inner black lens barrel and turn anti-clockwise until inner barrel lifts out.
- Lift inner barrel up and free from lens motor and flex assembly.
- Holding on to pin on inside of outermost lens barrel, turn lens barrel upside down and grasp inner lens as it falls free.