How To Repair Jammed CanoScan LIDE 90 Scanner
ID: 3607
Description: If your scanner gets jammed half way through...
Steps:
- The metal 'spine' you are going to re-shape is under the grey plastic rail with the 'cog teeth' that you can see inside the scanner.
- Firstly turn over the scanner and remove the 3 screws on the back of your scanner which are covered by plastic dark grey oval strips (2 at extremes, 1 in center; the 2 covers in between these can be ignored). This is so you don't have to turn the scanner over latter when parts may fall out. These screws hold the metal 'spine' in place.
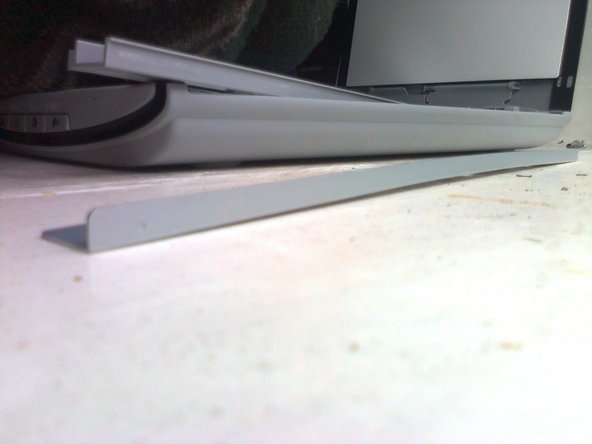
- To get to the 'spine', you must first gently lift off the two plastic strips that run on the long edges of the glass.
- Use a knife to prise them up, they are glued down, and have plastic clips on the outside that allow them to slide towards the rear (USB end) of the scanner once the glue is up.
- Alternate method: The ends near the hinge are not glued and have a tab that slides under the back edge. You can bend each strip up with a knife near the hinge, and slip the tab from underneath the back edge. The strip then lies on top of the back edge.
- Next prise up the glass from the front (buttons end) of the scanner at both edges.
- Alternate Method: After getting the side strips on top of the back edge, you can slide the glass plate towards the hinge to undo the locks on the side. At the front, near the buttons, you can pry the glass plate up, then pull it forward and remove it.
- At this point you can test again to see if the scanner back is bowed by pressing the casing in the centre of the base with your fingers to see if it dips towards the table/surface it is on.
- Now gently lift the scanner head off the grey plastic rail and place it to one side of the case out of the way.
- 4. Then undo the three screws on the rail. You can lift out the metal rail. Place it on a flat surface to see if it is bowed, and if so, gently bend it flat.
- 5. Now reassemble the entire scanner again. You can use double sided sticky tape to stick the plastic rail on again. I hope this helps you. :o)