1994-2001 Acura Integra Head Unit Replacement
ID: 3601
Description: Removing the factory head unit requires removal...
Steps:
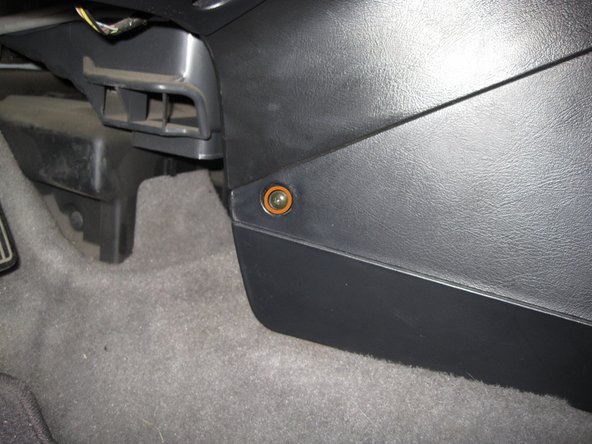
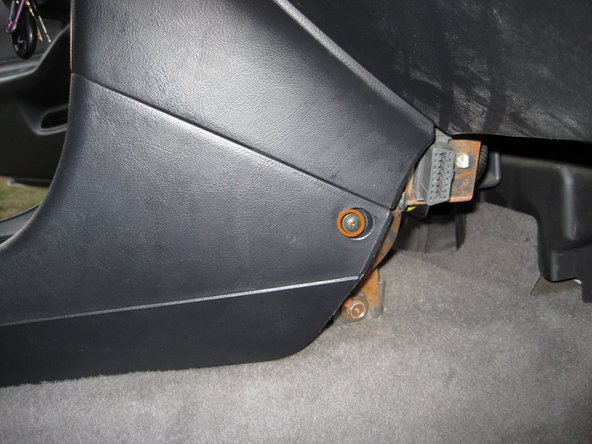
- Remove the two Phillips screws at the very rear of the center console near the floor.
- Insert a small flathead screwdriver into the notch at the driver's side rear corner of the screw cover directly below the parking brake lever and pry it off.
- Remove the two Phillips screws that were underneath the screw cover.
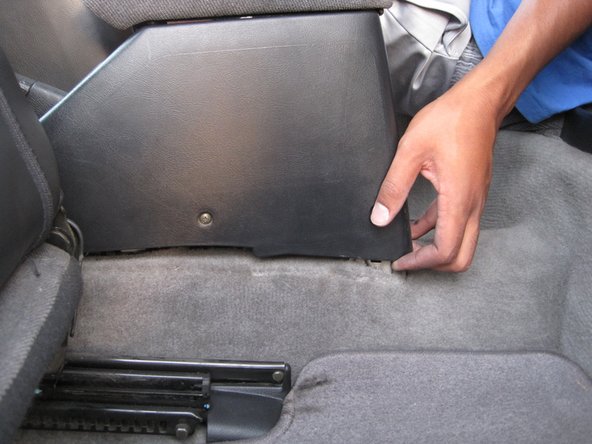
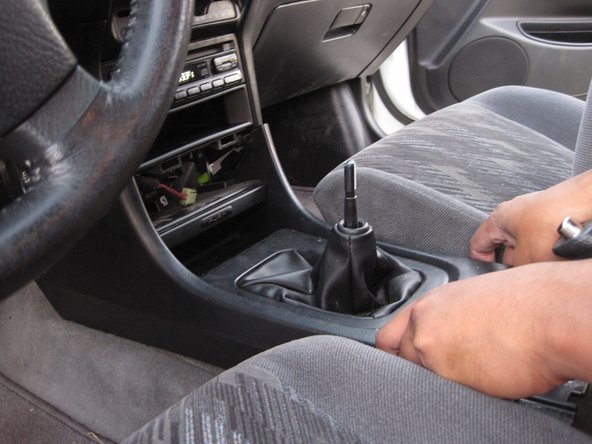
- Grab the bottom of the rear portion of the console and lift up and away from the front of the car.
- Remove the rear portion of the center console.
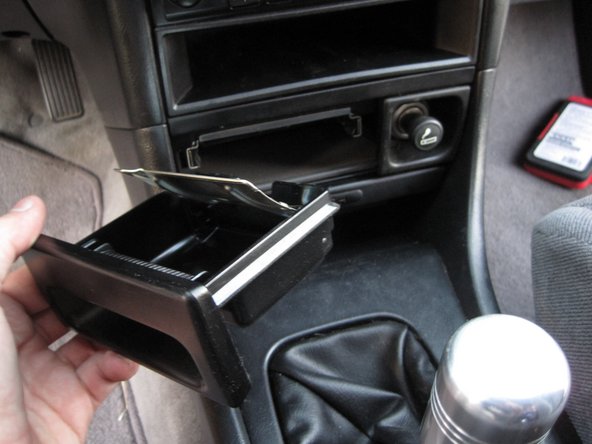
- Pull the ash tray out from the center console until it stops.
- Push down on the metal plate at the top of the ash tray and continue to pull the tray out until it is completely removed.
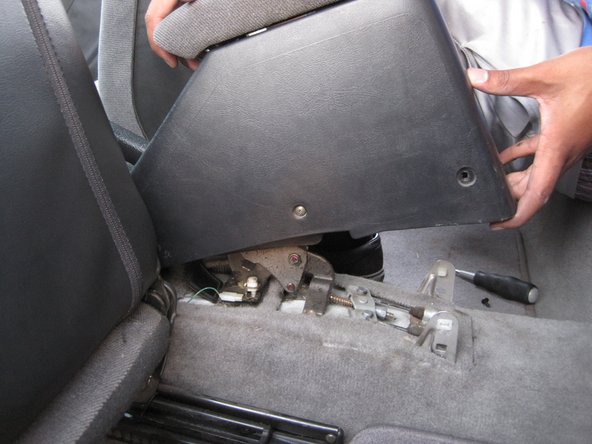
- Remove two Phillips screws from behind the ash tray.
- Remove the lower portion of the console that contains the cigarette lighter from the rest of the center console.
- Disconnect the electrical connector for the cigarette lighter by first depressing the tab on top, and then pulling directly out of the socket.
- Remove four Phillips screws that hold the side pieces of the front portion of the console in place.
- Two below the radio pocket.
- Two on the faces of the side pieces, one on either side.
- Remove the shift knob by unscrewing it counter-clockwise.
- Lift the front portion of the center console up and away from the front of the car.
- It may be necessary to pull the emergency brake handle up further to create enough room to remove the front portion of the center console.
- To remove the factory head unit, you must position yourself on your back with your head behind the dash. Use a flashlight or headlamp and look up towards the area where the head unit sits.
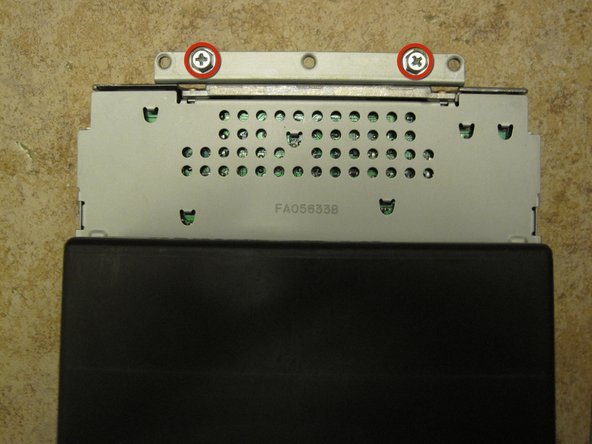
- Use a very short screwdriver to remove the two downward-facing Phillips screws that hold the head unit in place.
- With enough light it is fairly easy to identify these two screws, since they have large, hex-shaped heads.
- Be very careful when removing these screws, since the metal brackets behind the dash have sharp edges. You may wish to wear some sort of gloves to keep from scratching your hands.
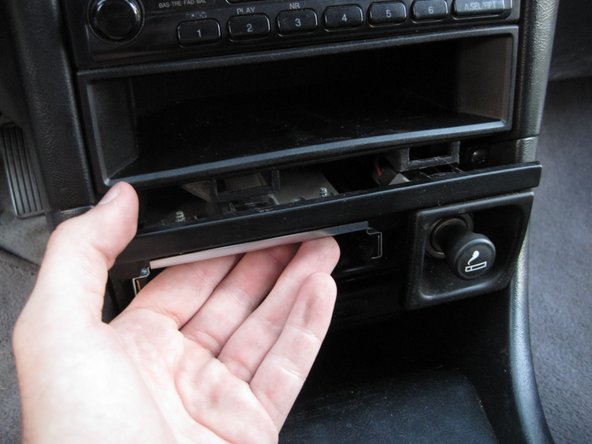
- Grab the pocket below the factory radio and pull the head unit a few inches out of the dash.
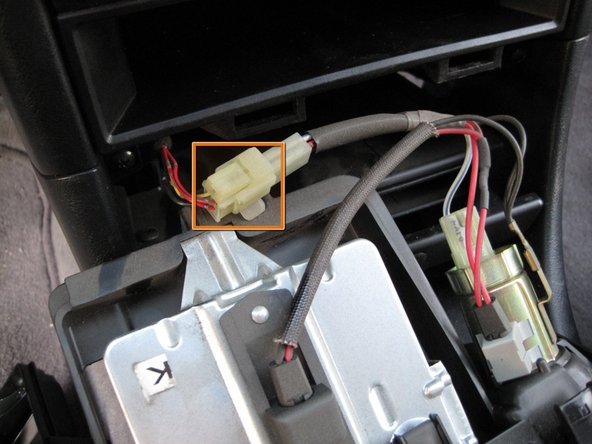
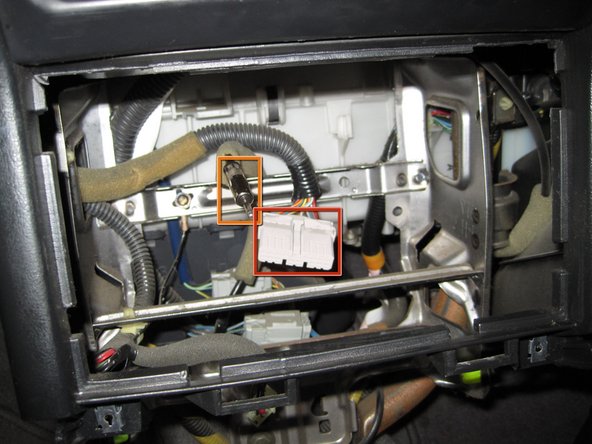
- There are connectors on the back of the head unit that must be disconnected before it can be removed entirely.
- Disconnect the connector that includes all of the power and signal wires from the back of the head unit by first pushing down on the small tab on top of the connector, and then pulling straight out.
- Remove the radio antenna cable from the back of the head unit by pulling it straight out.
- With these two things removed, the entire head unit can be pulled out of the dash.
- When installing the new stereo, make sure that the speaker and signal wires are not getting in the way of the head unit sliding all the way into place.
- If you are installing an after-market head unit, you don't need to reuse the two Phillips screws, because the adapter bracket for the head unit will clip into the dash.