Disassembling KDDI Kyocera A5521K Main LCD Screen
ID: 2495
Description: These instructions will demonstrate how to...
Steps:
- Start by prying, with a metal probe, the black covers that are located by the pivoting joints of the phone/
- Beneath those covers are the screws.
- Remove the screws using a Y0 screwdriver.
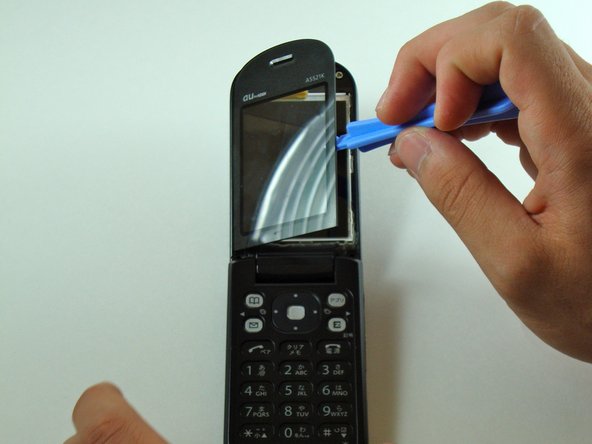
- Use the iPod pry tool to remove the outer screen.
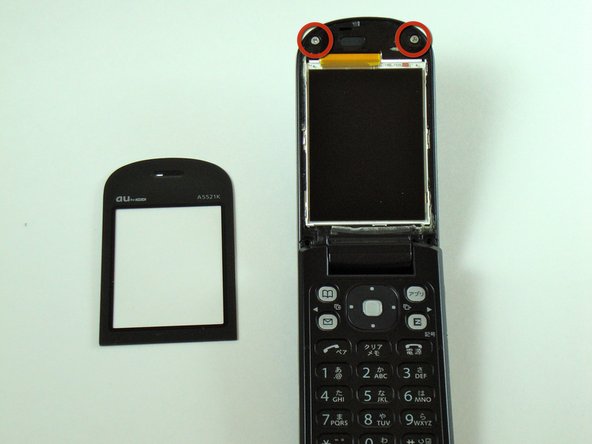
- Two screws are now visible.
- Be careful not to crack the screen upon removal. It adheres strongly to the phone.
- Use the Y0 screwdriver to remove the screws.
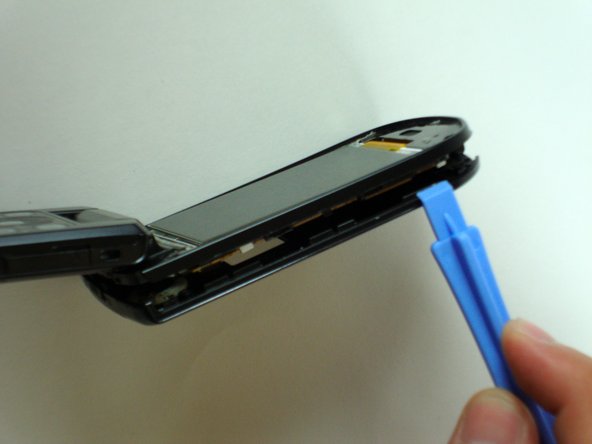
- Use the iPod pry tool to loosen the faceplate from the phone.
- Slide the pry tool along the entire crease of the faceplate to completely detach it.
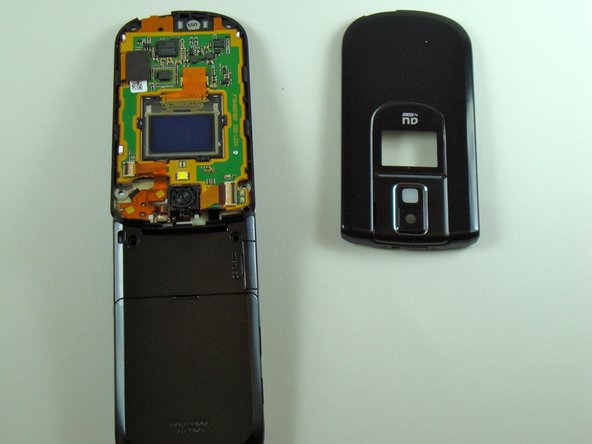
- Separate the faceplate from the phone.
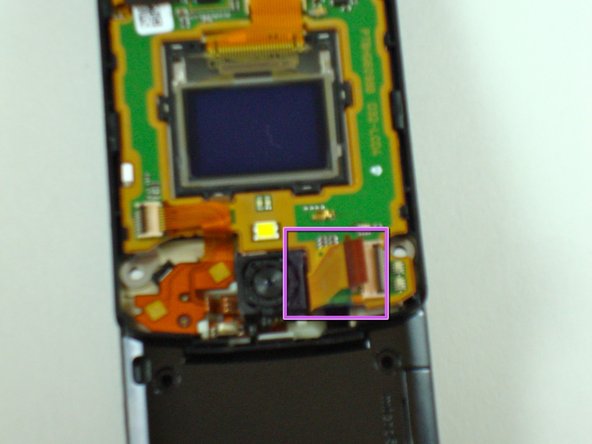
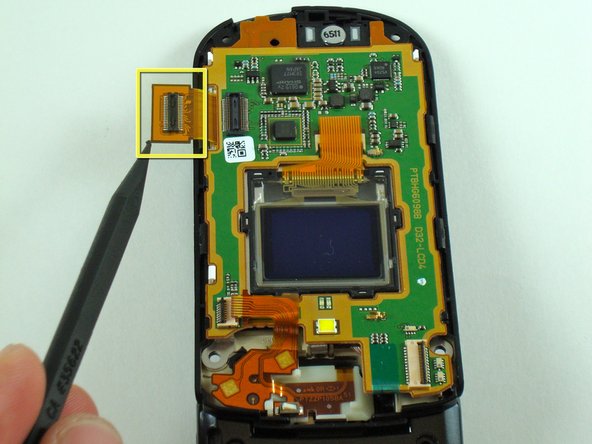
- Firmly grab the flexible circuit with tweezers to detach (or use your fingers if you can manage a firm grip).
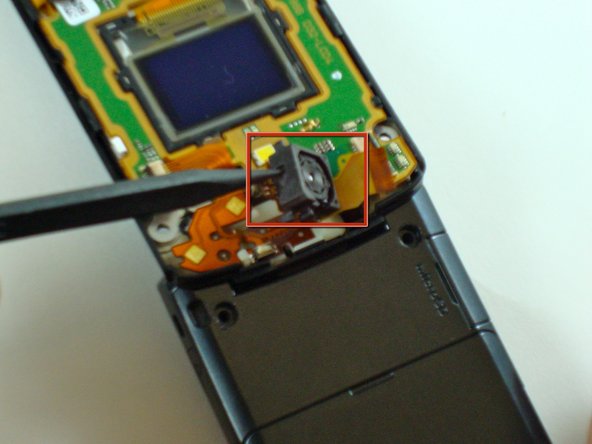
- Carefully pry up the camera unit with a spudger.
- Be careful not to damage the camera unit.
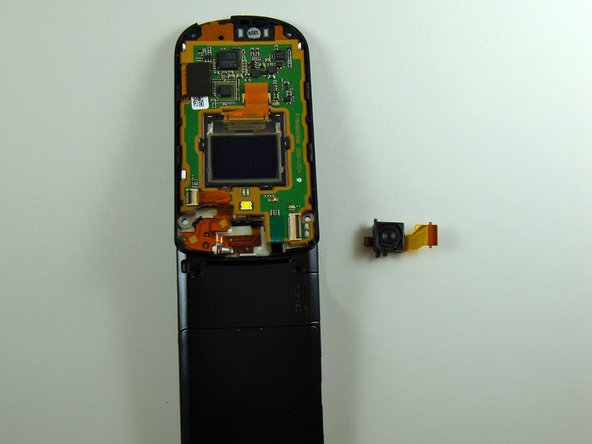
- The camera should now be separated from the phone.
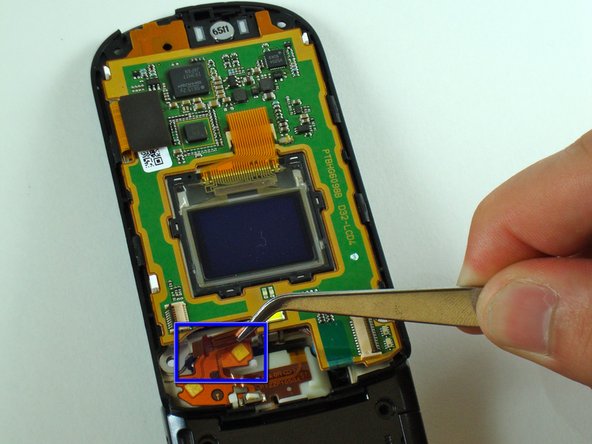
- Remove the flexible circuit shown using tweezers (or use your fingers if you can manage a firm grip).
- Unplug the circuit connector.
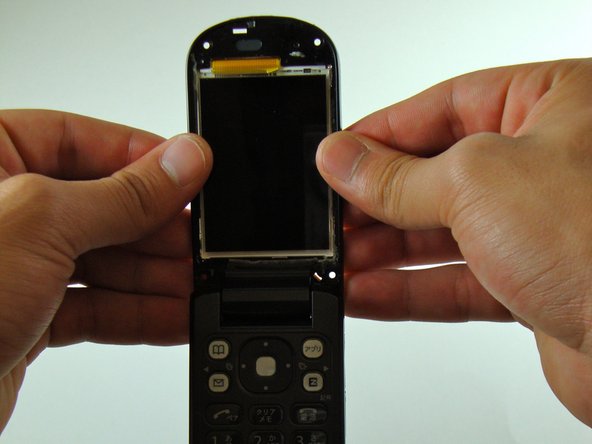
- Grab the phone with both hands.
- Turnover the phone so that the main screen faces you.
- Firmly grasp the edges between your thumbs and fingers.
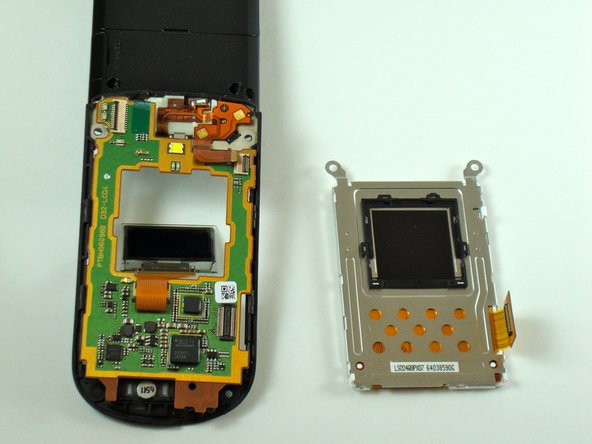
- Carefully push in the LCD screen from the remainder of the phone.
- Be careful not to break the LCD screen.
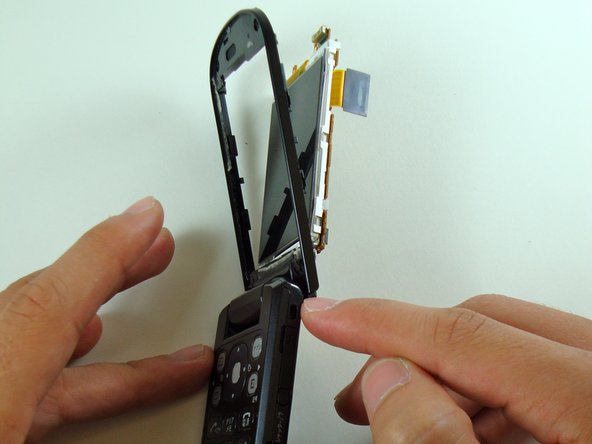
- The LCD screen and circuit board should now be partly detached from the frame.
- Turn over the phone.
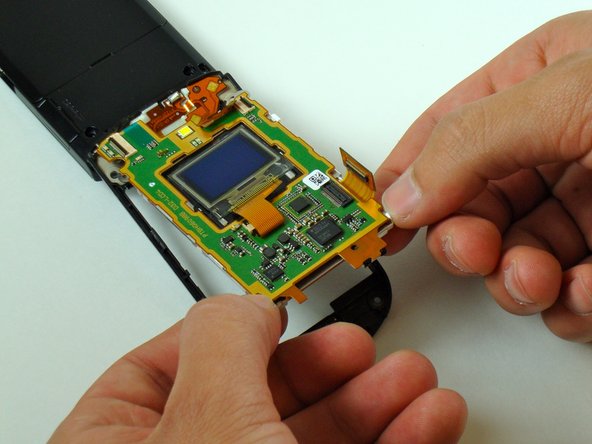
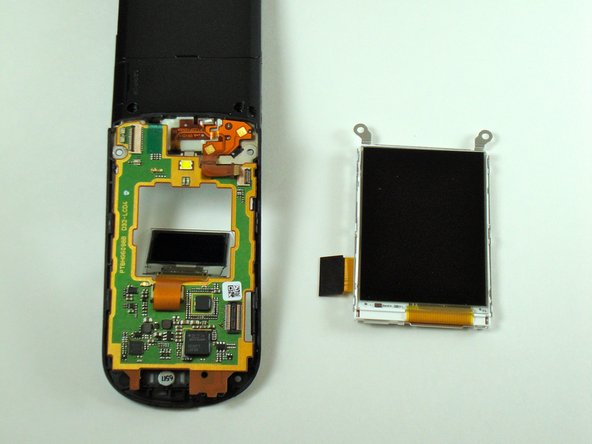
- Separate the circuit board from the back of the LCD screen.
- Remove the LCD screen from the phone.