Motorola C290 Logic Board Replacement
ID: 2490
Description: This repair guide will show how to get to the...
Steps:
- Position Motorola C290 so that the back of the phone is facing up.
- Apply pressure to the back cover while simultaneously sliding it downwards.
- Note: It may be easiest to apply pressure to the ridges at the top of the back cover.
- Place your finger in the notch at the top of the battery.
- Gently lift and pull out battery.
- Unscrew antenna head from top of phone by twisting counterclockwise.
- Pull the antenna out through the top hole and set aside.
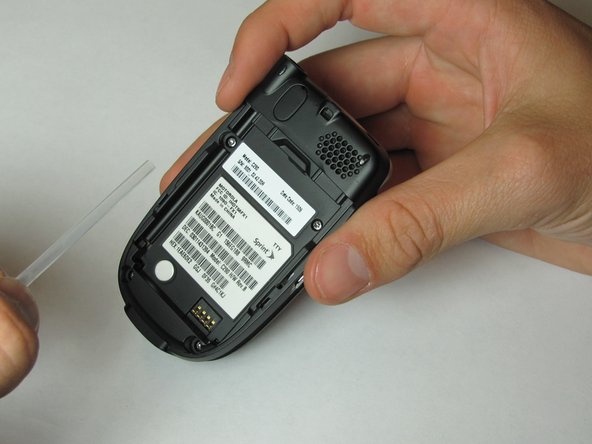
- Remove the plastic tube by lifting the bottom and pulling out towards yourself.
- Insert a Spudger (or pushpin) into the top notch of the rubber cover, located on the top of the phone.
- Press down and rotate the Spudger lifting the rubber cover. Remove and set cover aside.
- Note: This will reveal a screw. Five screws should now be visible.
- Using a T6 Torx screwdriver, unscrew all 5 screws and carefully set them aside.
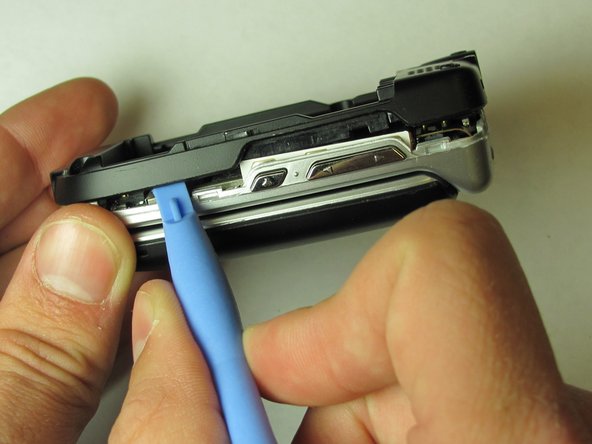
- Insert the plastic opening tool in the groove at the top of the phone.
- Rotate the tool to create an opening between the logic board cover and case.
- Slide the plastic opening tool along the groove, until the entire logic board cover has been opened.
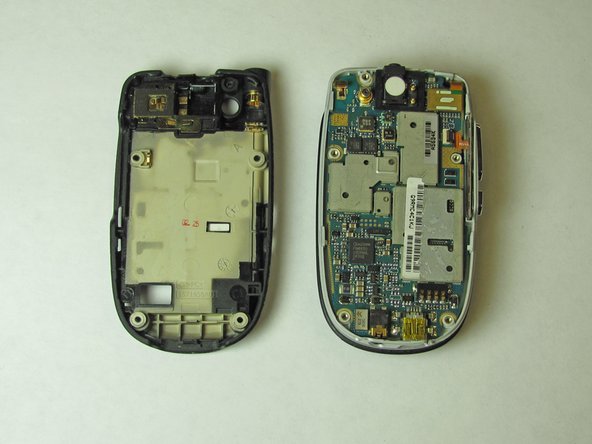
- Remove logic board cover and set aside.
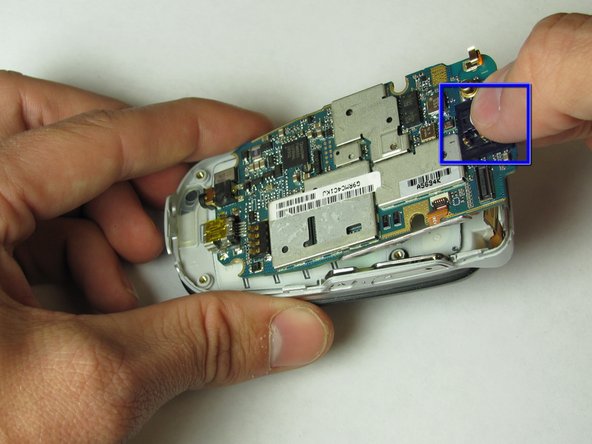
- Use the Spudger to detach the screen wire from the logic board.
- Insert the Spudger into the slot on the top of the logic board.
- Gently pry to loosen the top of the logic board.
- Note: The logic board may initially seem glued to the phone. It is not glued but does require input of force to remove.
- Grab the top of the logic board and pull at an angle to remove.