Magellan RoadMate 1200 Display Replacement
ID: 2451
Description: A guide to accessing the RoadMate's display.
Steps:
- Remove the four rubber caps from the back by using the Phillips #00 screwdriver.
- Remove the four screws holding the cover in place by using the Phillips #00 screwdriver.
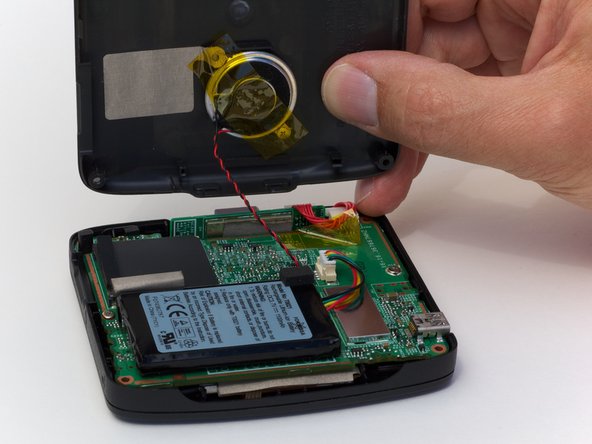
- Remove the back cover from the device by separating the back cover along its seam.
- Slowly lift the cover—the speaker is screwed onto the back cover and is connected to the circuit board.
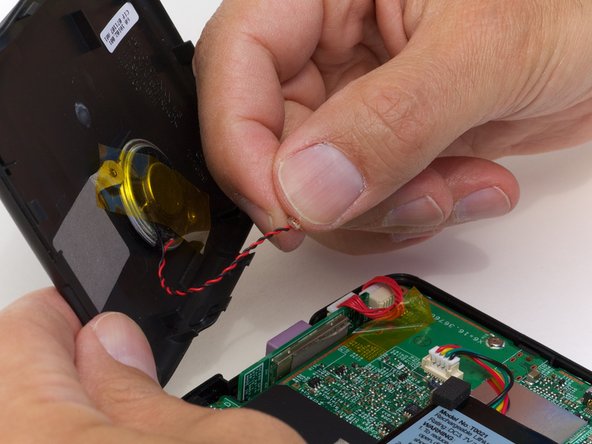
- Pull the speaker cord, horizontally, by its base, away from the motherboard.
- When reassembling, make sure that you plug the terminal in the same way. The black wire should be on the side farthest from the battery.
- Remove the two screws on that are located on opposite sides of the board.
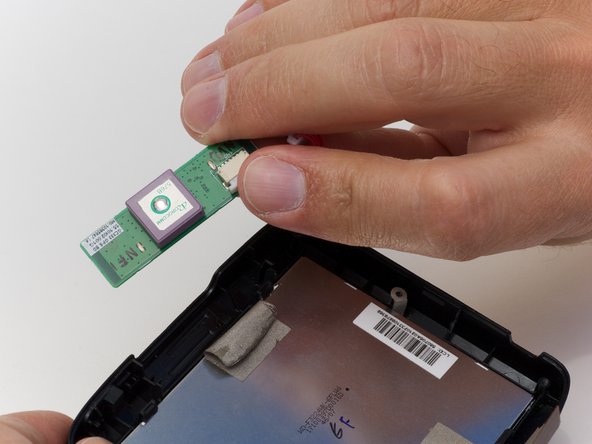
- Lift up the circuit board and disconnect the GPS wire, pulling horizontally from its connector port.
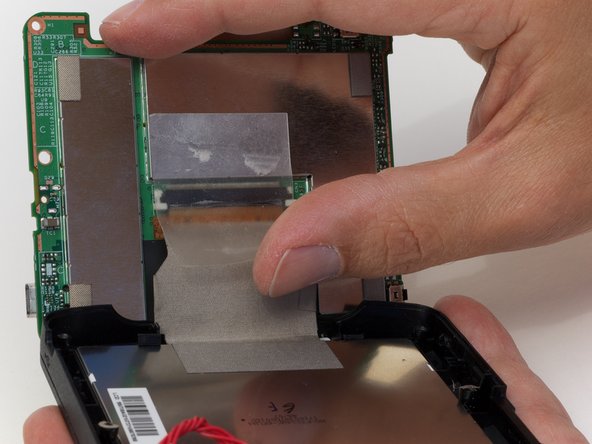
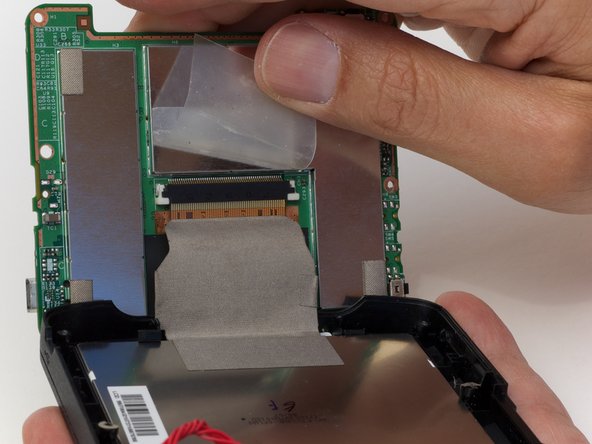
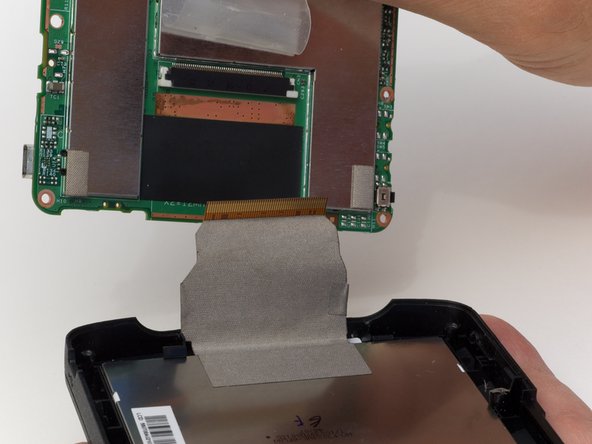
- Peel back the tape securing the display connector to the logic board.
- Remove the display connector from the device.
- Do not pull on the cable because you may damage it. Instead, try to pull as closely as you can to the plug.
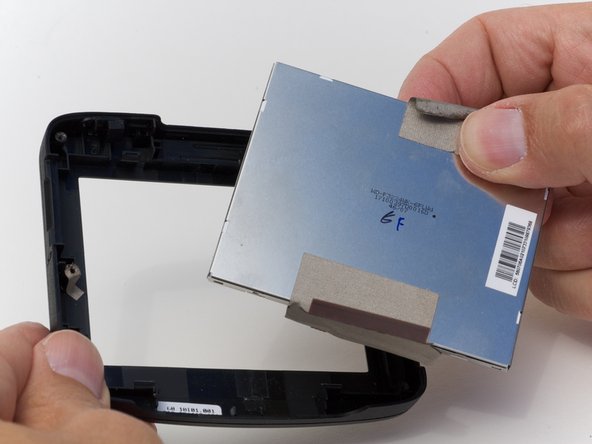
- Carefully flip the circuit board out so you can get to the sensor easily.
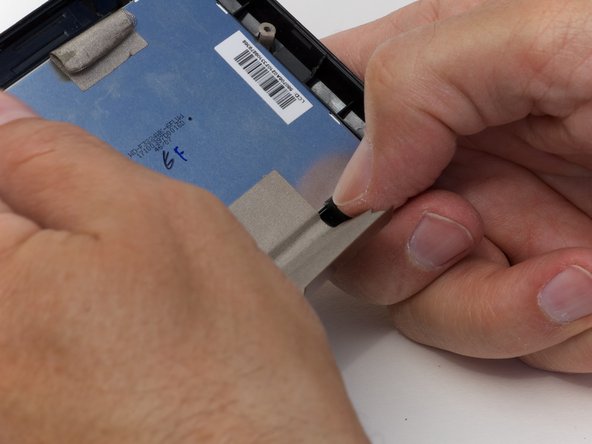
- Remove the tape holding the sensor to the display and take out the sensor.
- Undo the 4 clasps holding the display in place.
- Pop the display from the front cover.