BlackBerry 7100g Screen Replacement
ID: 2447
Description: This guide shows you how to replace the screen...
Steps:
- Turn over your BalckBerry 7100g so that the back cover is facing up.
- Locate the battery cover release button near the bottom of the back panel.
- Push down on the release button with one thumb.
- Slide the battery cover off with the other thumb.
- Remove the battery from the battery housing by flipping up the top of the battery.
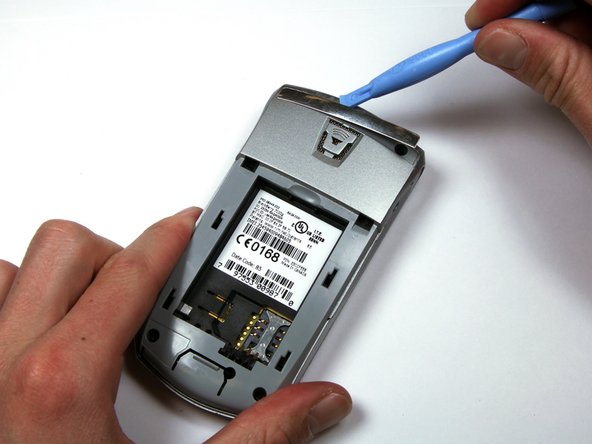
- Locate the silver strip near the top of your BlackBerry.
- Use a plastic opening tool to pry off the edge of the silver lining.
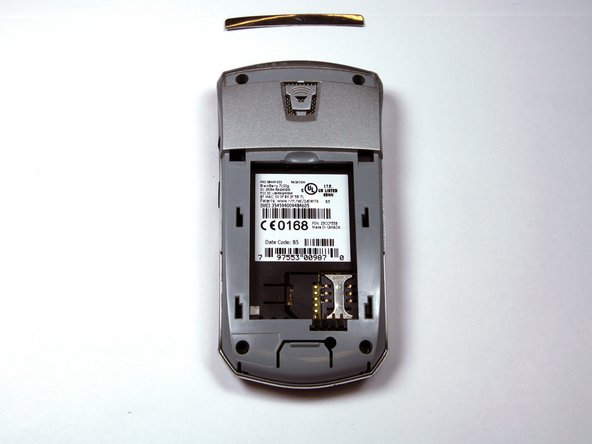
- Slide the tool along the length of the silver strip to completely remove it.
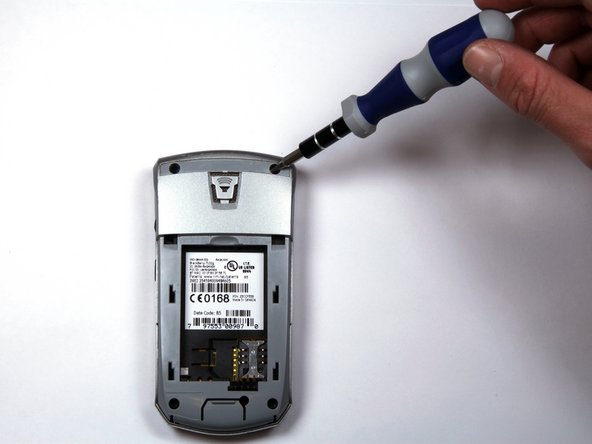
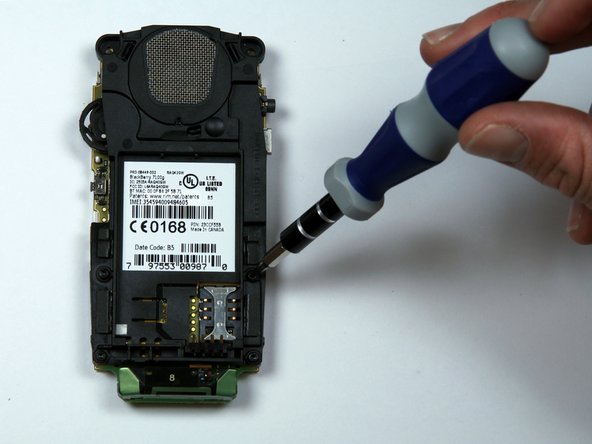
- Do not lose the screws. They are quite small and can easily be misplaced.
- Locate and unscrew the four (4) screws using a T6 screwdriver.
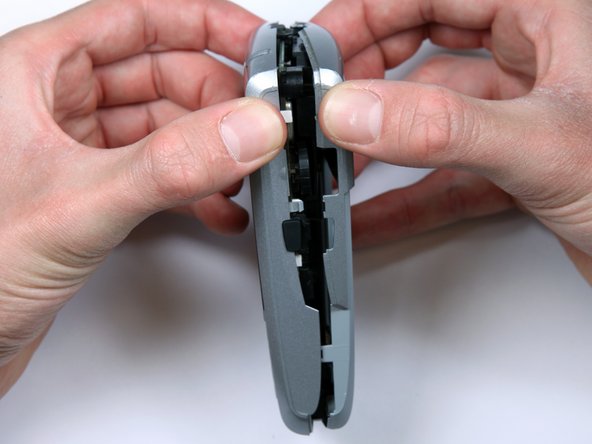
- The keypad cover may fall out of the housing when prying the housing apart.
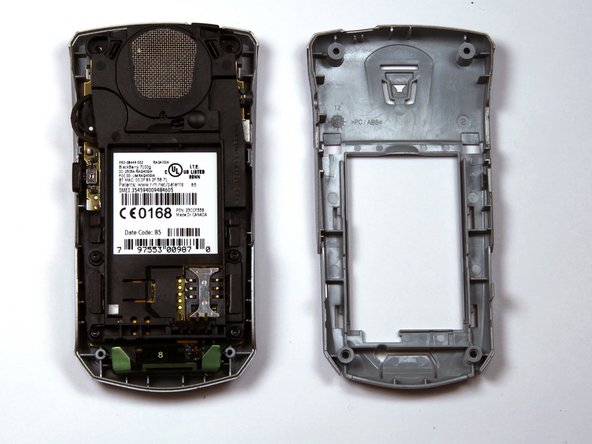
- Tightly pinch the top of the front and back halves of the housing.
- Carefully pry the two halves of the housing apart.
- You can now easily remove the "guts" of the phone from the housing.
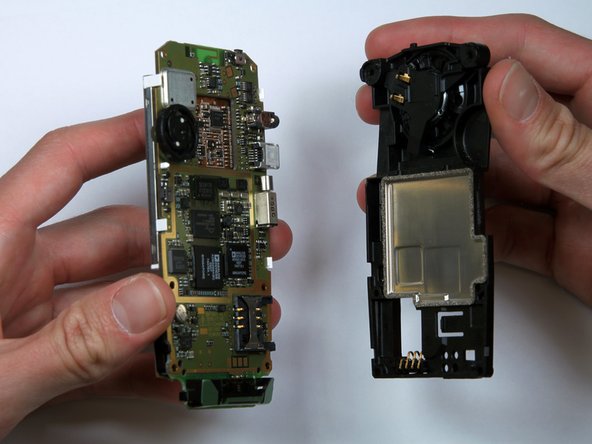
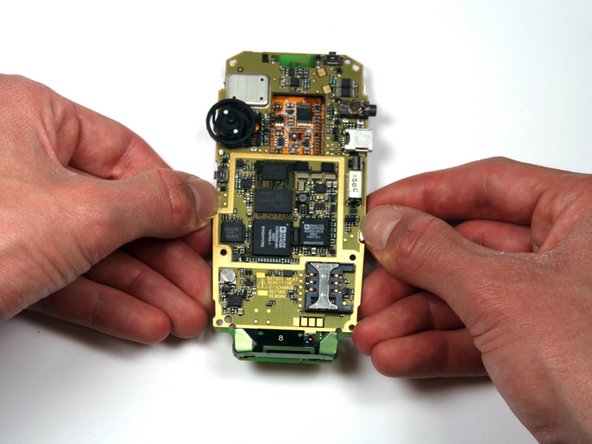
- Turn the "guts" over so the speaker is facing up.
- Locate and unscrew the four (4) screws near the bottom of the motherboard, using a T6 screwdriver.
- Separate the battery housing from the motherboard.
- Pull the keypad off of the motherboard.
- It should come off with little effort. If not, there are several tabs that can be released on either side of the keypad.
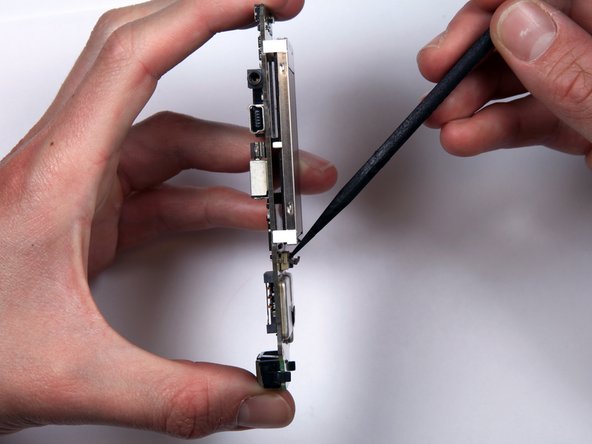
- Locate the ribbon connector below the bottom of the screen.
- Use a spudger to flip up the connector.
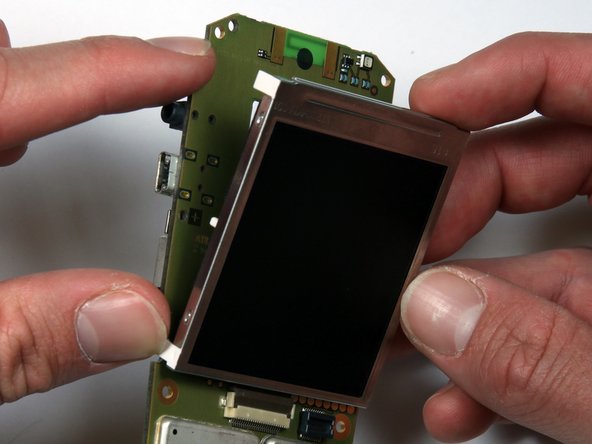
- Locate the four (4) white tabs that attach the screen to the motherboard.
- Carefully detach the tabs from the motherboard.
- The screen can now be removed from the motherboard.