Kodak EasyShare C713 Lens Replacement
ID: 2437
Description: This guide will help with replacing the lens of...
Steps:
- Use your finger tip to slide battery cover door away from the center of the camera.
- The battery door should spring open.
- If this does not happen, gently open the door lifting from the outer bottom side of the camera.
- Remove the old batteries.
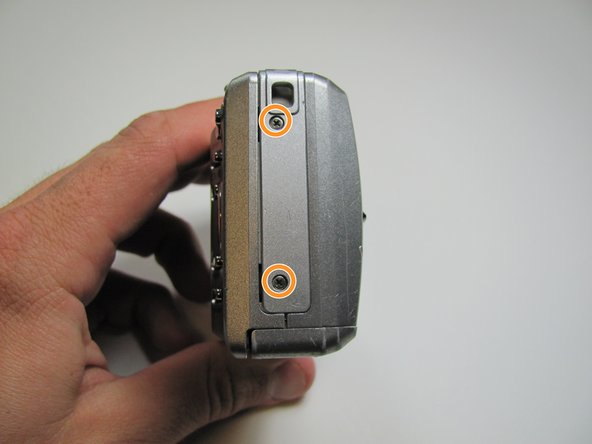
- Remove the seven screws from the outer case with a Phillips #00.
- All screws are 4.45mm.
- There are 2 screws on the port side.
- There are 2 screws on starboard side.
- There are 3 screws on the bottom.
- Make sure the battery cap is "up".
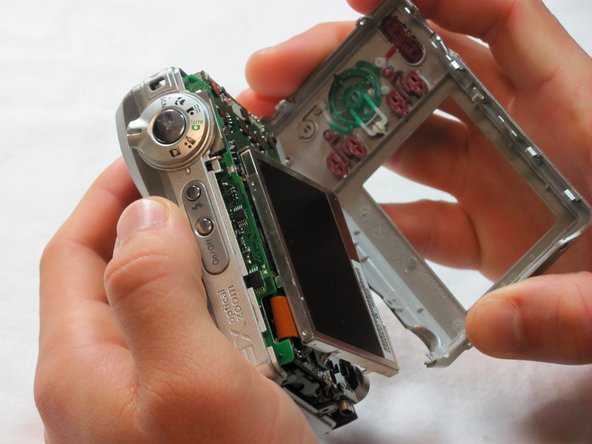
- Pull the outer case off with your hands.
- The LCD screen is hinged at the bottom.
- Put your thumb in the upper right corner of the LCD screen.
- Pull the LCD screen out of its outer case with your thumb.
- Remove the screw underneath LCD screen with the Phillips #00. The screw measures 4.1mm in length.
- Desolder the two points.
- One on the port side.
- One on the bottom.
- After desoldering the LCD casing, just use your fingers to carefully remove it.
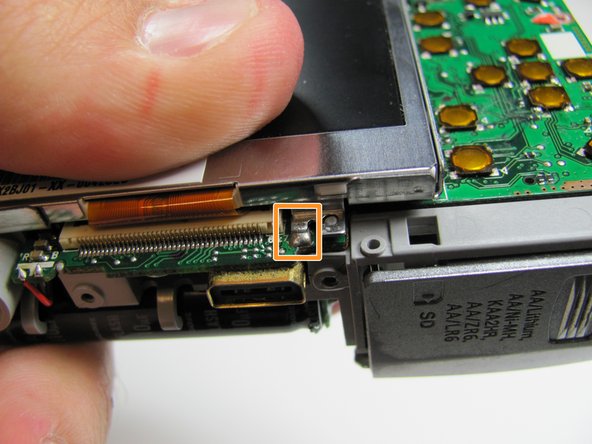
- Flip up the black tab on the bottom of the LCD screen with a fingertip.
- Remove the LCD ribbon cable from inside the black tab.
- Using a fingertip, flip the black tab near the top of the camera.
- Remove the ribbon connector from inside the black tab.
- Remove the remaining eight 4.1mm screws on the back with the Phillips #00 screwdriver.
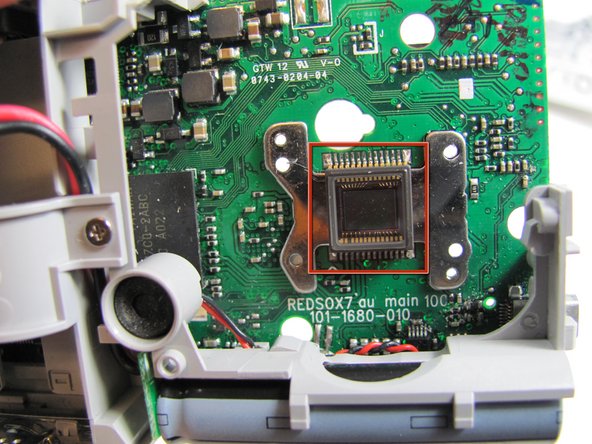
- Desolder the upper points.
- There is a series of solder points in a rectangular area in the upper middle of the camera.
- There is a large solder point in the upper right.
- Turn the camera over.
- Remove the silver 2.2mm battery cap screw.
- Turn the camera over.
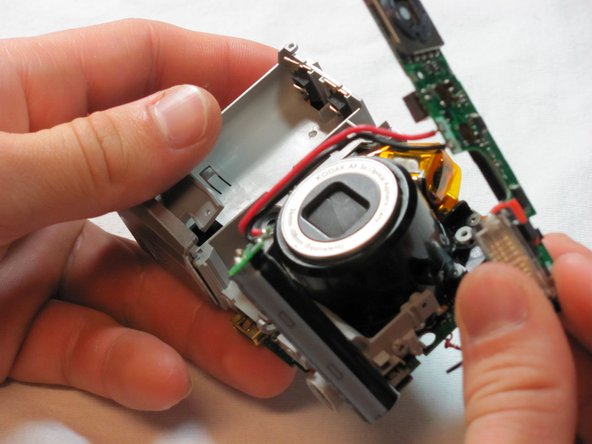
- Pry the capacitor out of its holder on the bottom of the camera with your fingers.
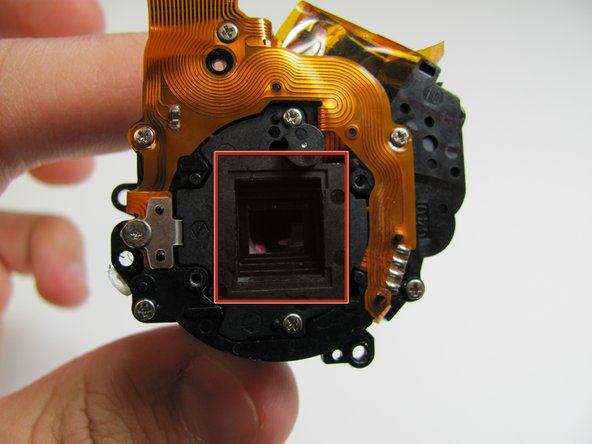
- Remove the lens assembly with your fingers.
- You may need to wiggle it back and forth until it comes loose.
- Do not touch the marked areas. This will cause the camera to take blurry pictures.