Sony Vaio VGN-FS640 Optical Drive Replacement
ID: 2338
Description: This guide will help you disassemble your Sony...
Steps:
- Lay the closed laptop on its screen so the bottom is facing towards you.
- Push both latches towards the center of the battery.
- Revome the battery by pushing it away from the laptop.
- Set the battery away from the laptop.
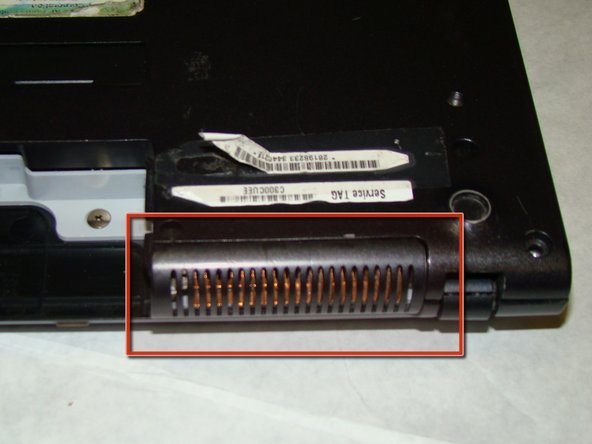
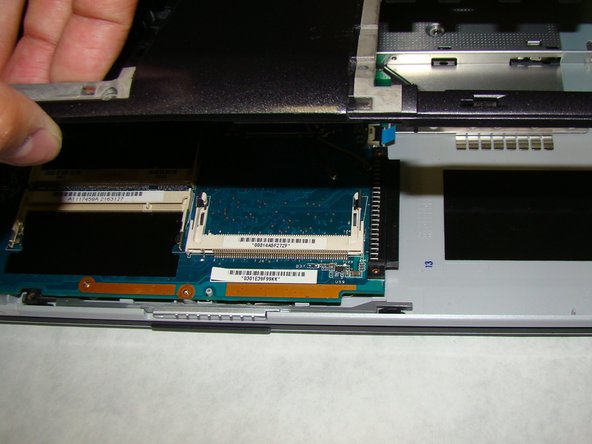
- With the bottom of the laptop facing up, locate the RAM cover.
- The RAM is covered by the panel with four columns of vents.
- Locate the screw (Length: 4.8 mm) holding down the panel, which is near the edge of the laptop. Unscrew it with your phillips #0 screwdriver.
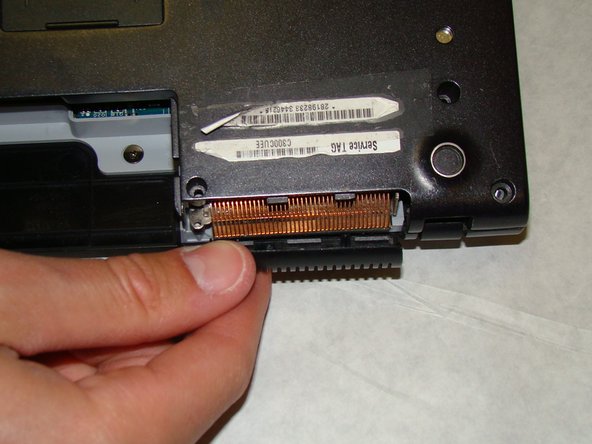
- Use your fingers to slide the cover away from the laptop. (It will only slide a few millimeters)
- Once the panel is out of its locked position, it can be lifted out without any resistance.
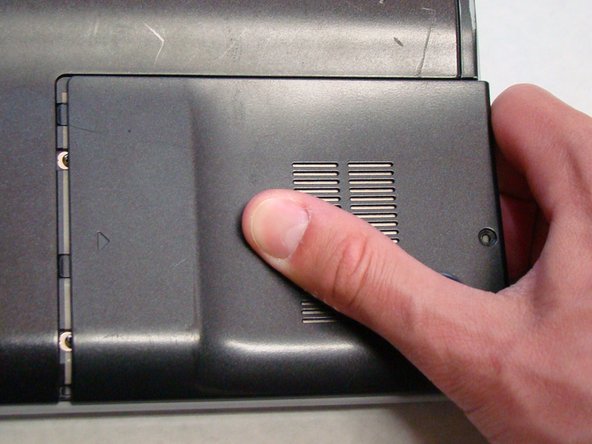
- Locate and remove the screw (Length: 7.7mm) for the hard drive cover.
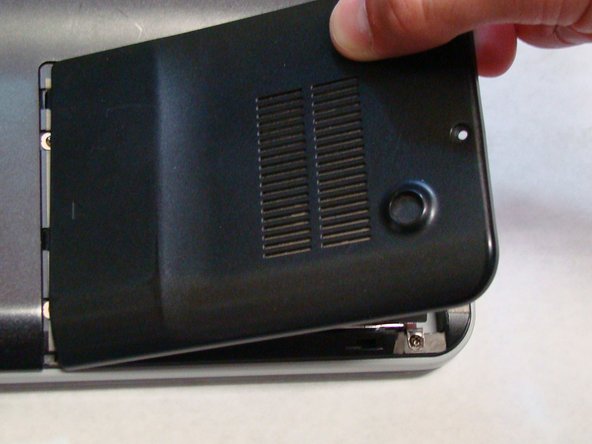
- Slide the cover until it is free from the laptop case.
- Lift the cover to remove.
- Locate and remove the four screws (Length: 7.7mm) holding the Hard Drive tray in place.
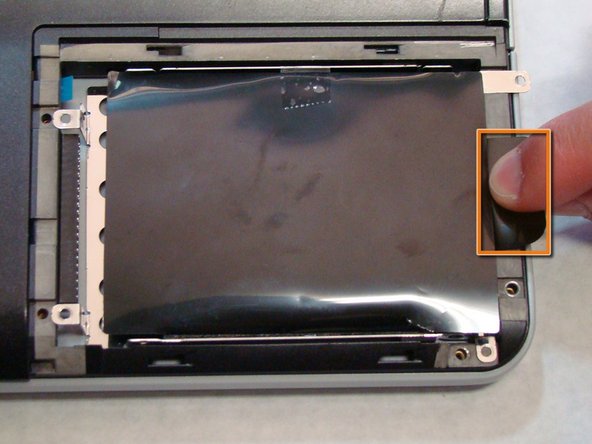
- Using the tab on the tray, slide the Hard Drive away from the main body of the laptop.
- The Hard Drive should now be disconnected.
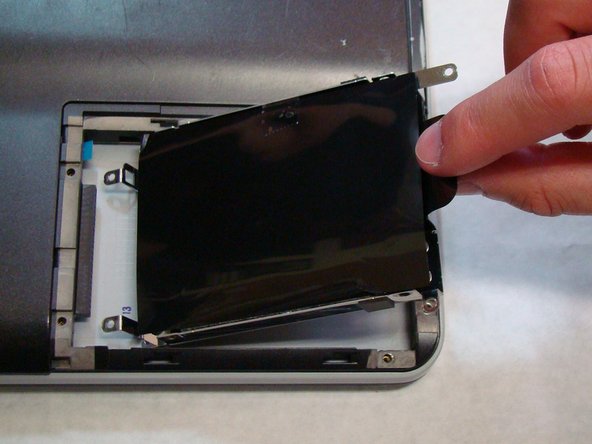
- Lift the drive out with the tab on the tray.
- Locate the screws highlighted here. There are 16 total.
- Using a Phillips #0 screwdriver, remove the screws (Length: 6.8mm) and place them on a tray for later use.
- Before you proceed, make sure you pay special attention to the way the small plastic part that covers the radiator fins is held in place. You will need to know how it attaches when you reassemble the laptop.
- You do not need to actually remove the part at this time. It is held in place by the rest of the back cover and will fall off when back cover is removed in the next step.
- After removing the screws, use your fingers to lift the back cover off the laptop.
- Remove the back cover and place it somewhere safe so you can locate it later.
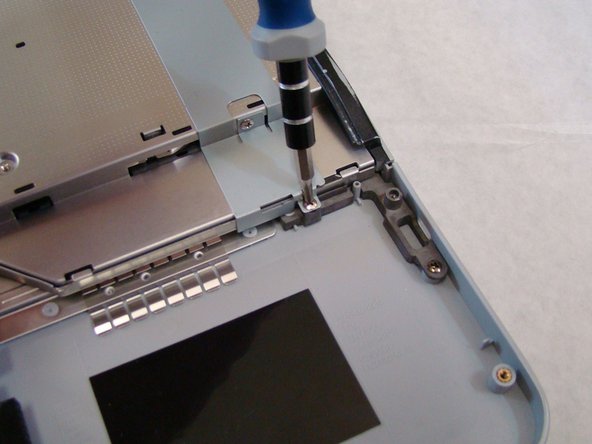
- Locate and remove the screws (Length: 5.8mm) affixing the drive to the laptop frame.
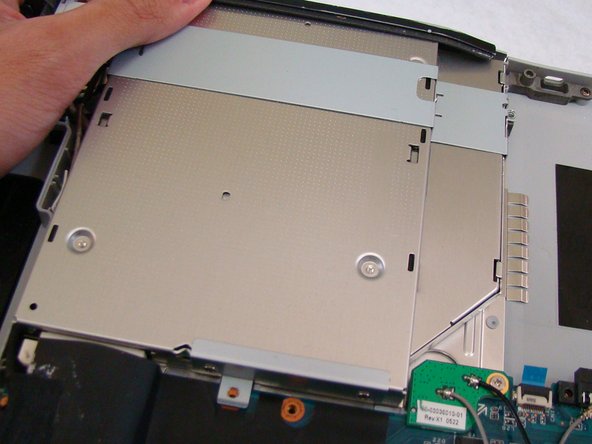
- Gently slide the drive away from the body of the laptop until it is disconnected.
- Lift the drive out.
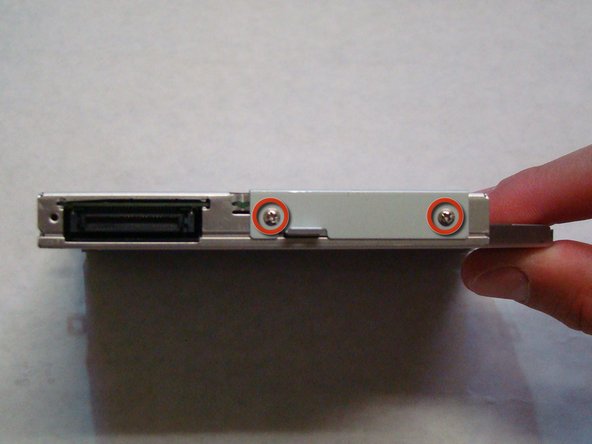
- Once the drive is removed from the main body of the laptop, you will need to remove the two connecting brackets.
- Locate the screws for the brackets. There should be one on each side of the drive and two on the end that connects to the computer.
- Unscrew and remove the brackets.
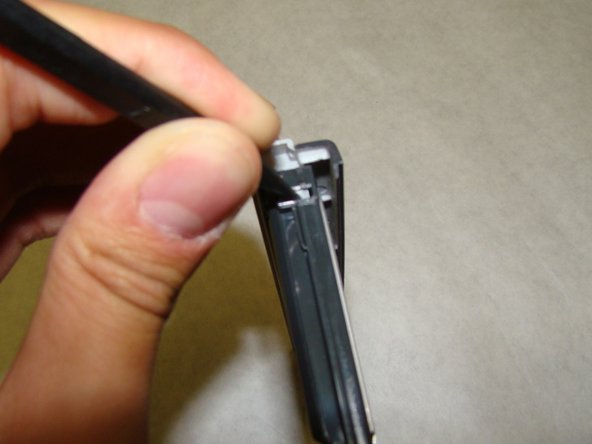
- The last step is to remove the tray cover (the part that is exposed when the tray is closed).
- The next two steps are not necessary if your replacement drive came with a tray cover already attached.
- Open the drive by poking a straightened paper clip in the small hole on the front of the tray cover.
- Locate the two tabs on the inside of the cover that hold it in place.
- Use a spudger or similar tool to unclip each tab. The cover should come right off.