PowerBook G3 Pismo Airport Card Replacement
ID: 20
Description: Install an original Airport 802.11b card...
Steps:
- Turn the keyboard locking screw so that it is parallel to the space bar.
- Pull the keyboard release tabs toward you and lift up on the keyboard until it pops free.
- Lift the keyboard out by pulling it up and away from you. Rest the keyboard, face down, on top of the track pad.
- Pull the keyboard ribbon straight up from the logic board. Place the keyboard aside.
- The connector may be tight. Gently rock the connector from side to side while pulling directly upward to free it. You can use this technique on many of the cards and cables you'll be disconnecting.
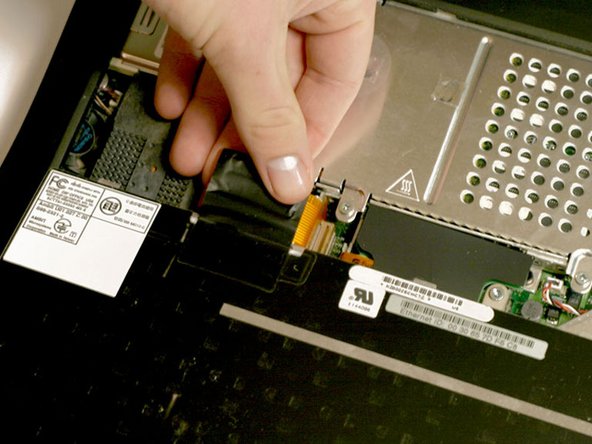
- Make sure you have removed the laptop battery and CD/DVD modules from the expansion bays before proceeding.
- Your laptop should look approximately like this.
- Remove the two silver Phillips #1 screws that attach the heat shield to the internal metal framework.
- Lift the heat shield up and pull it toward you.
- Your laptop should look approximately like this.
- Skip this step if your computer does not have an Airport card installed.
- Firmly grasp the plastic tab attached to the Airport card and pull up and then to the right.
- The Airport card is still attached to the antenna cable, so don't just yank it out of the slot.
- Disconnect the antenna cable from the Airport card.