Xbox Disassembly
ID: 1308
Description: This is the teardown for the original Microsoft...
Steps:
- Start with your Xbox unplugged and sitting on a flat, stable surface.
- Flip the Xbox over and pry off the rubber feet with a metal spudger.
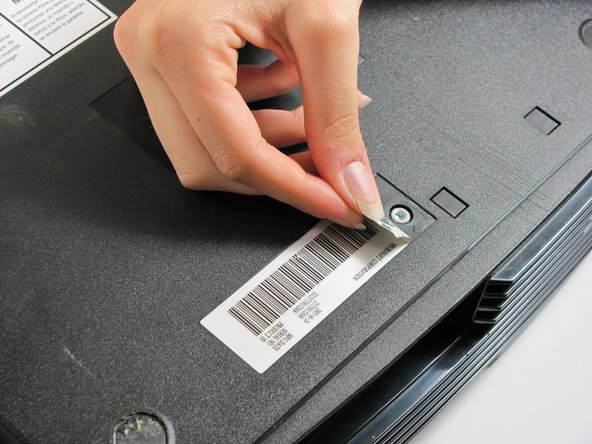
- Peel back both the silver sticker and the white barcode sticker to reveal two additional screws.
- Use a T20 Torx screwdriver to remove the four screws located under the rubber feet you just removed as well as the two screws from beneath the stickers removed in the previous step.
- Once the bottom shell is no longer attached, carefully turn the Xbox right-side-up and lift off the top shell.
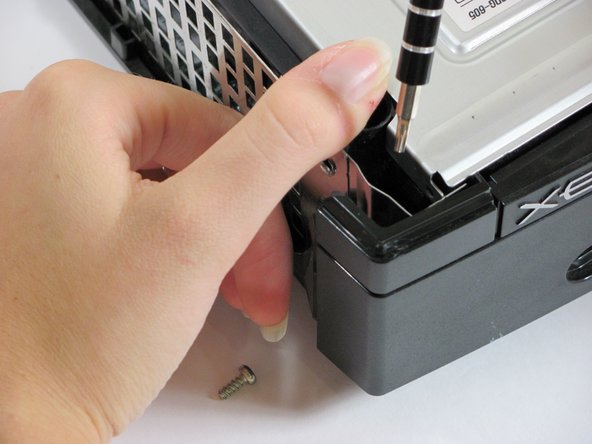
- Move the grey ribbon cable out of the way in order to remove the three 3 mm screws using T10 Torx screwdriver. They are located on the upper right corner, lower right, and lower left corners of disk drive.
- The screw on the lower left corner of the disk drive is not in the hole that it appears to be in, but rather just closer to the corner.
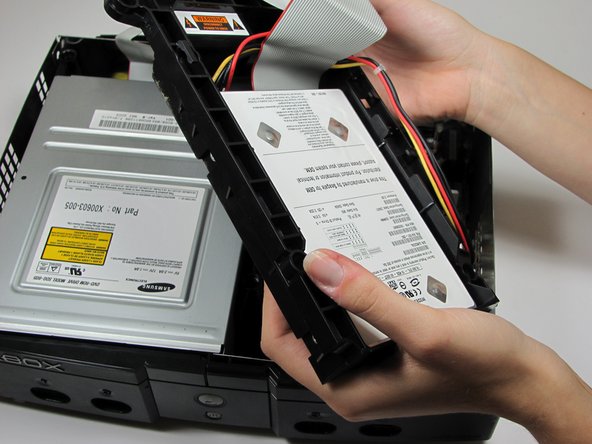
- Lift the hard drive storage unit out of the Xbox. It should come right out.
- Take the power cable out of the track around the hard drive so that the unit will come out easier.
- Use a T15 Torx screwdriver to remove four 3.37mm screws from both sides of the hard drive.
- Remove the plastic housing from the hard drive. It does have some clips on it, but it should come right off.
- Unplug both the ribbon cable and power cable from hard drive.
- They are in there pretty tightly, so this may take some effort.
- Remove the disk drive. It should come right out.
- Unplug the ribbon cable and yellow cables from back of disk drive.
- Pry back the black plastic tabs around the disk drive in order to remove it from its housing. Once removed, set the drive aside.
- Unplug the multi-colored power cord from the motherboard. It can be plugged in very tight, so it may take some effort to unplug it.
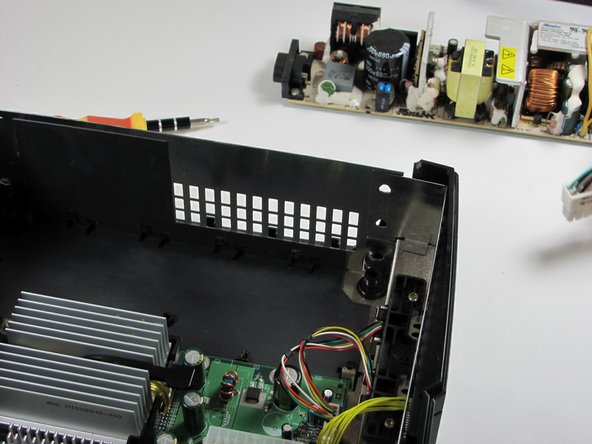
- Using T10 Torx screwdriver, remove two 3mm screws from the power supply board.
- Remove the power supply and set it aside. It should lift right out.
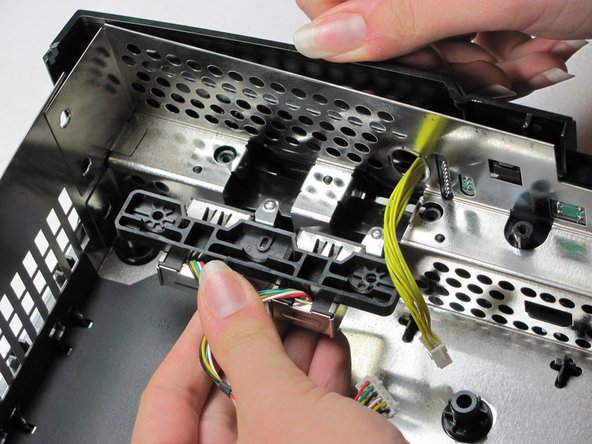
- Unplug the bundle of yellow cables as well as the rainbow cord from the motherboard.
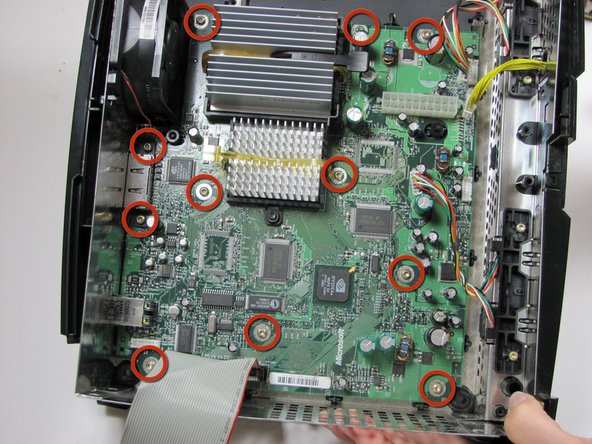
- Remove eleven 3mm screws from motherboard, using a T10 Torx screwdriver. Refer to the picture to find all eleven.
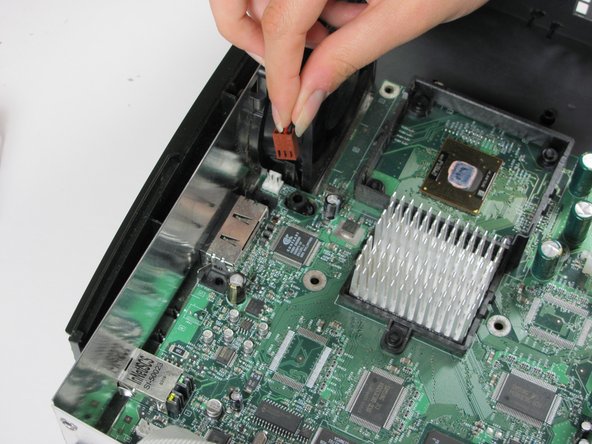
- Unplug the power cable attached to the fan.
- Remove the motherboard from the Xbox. As long as all of the screws are out and the fan is disconnected, it will lift out easily.
- Pry the plastic fan clips away from the fan base and remove the fan.
- This may take a little effort, as the clips are pretty stiff. Beware, the fan will be filthy.
- Using a T10 Torx screwdriver, remove two 3mm screws from each of two controller sockets.
- Take the sockets out by pulling back and up at the same time.
- Congratulations, your Xbox is now completely dismembered.