BlackBerry 8700c Teardown
ID: 1296
Description: This tear down includes a complete photographic...
Steps:
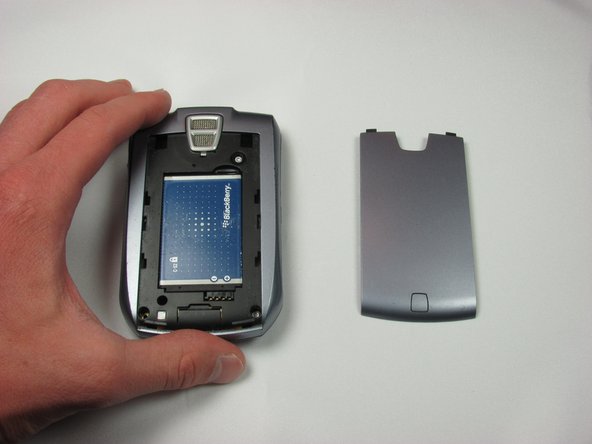
- In this first step you will remove the battery cover by pushing down on the button on the cover and sliding towards the bottom of the phone.
- To do this unscrew all four T6 screws
- Once this is done gently remove the back cover of the phone by pulling first from the bottom towards you, then from the top upwards.
- To remove the battery, place your fingernail in the slot at the top right of the battery and pull up.
- Next, remove the back portion of the phone by removing four T6 Screws.
- Once the screws have been removed, firmly grab the back cover and pull back from the front cover.
- To remove the middle portion of the phone you will again remove four T6 screws.
- Follow the removal of the screws, you can now pull the front face plate away from the middle portion.
- Follow the removal of the screws, you can now pull the middle portion away from the main logic board.
- Next, hold the logic board and remove the front face plate of the phone
- When the front face plate has been pulled away, be sure to grab the keypad as it may fall out.
- Next, use a metal spudger to unhook the earpiece from the inside of the front panel.
- Using a metal spudger, push back on the four clips holding the LCD screen to the logic board.
- Next gradually pull the screen away from the board so that none of the clips are engaged.
- Last, use a metal spudger to push back on the clip locking in the ribbon cable for the screen.
- The screen is now fully detached, and the phone is completely disassembled.