LG VX5200 Screen Replacement
ID: 1284
Description: This section covers how to disassemble the...
Steps:
- Pry the grey pieces of plastic off the corners of the screen with a spudger.
- Unscrew each of the four screws with a Phillips #00 Screwdriver.
- These screws are the same size as the ones from the back casing, but are not the same size as the screw from the antenna.
- These screws are the same size as the ones from the back casing, but are not the same size as the screw from the antenna.
- Close the phone after removing the screws.
- Slide a spudger into the cracks in the top half of the phone's casing.
- Wedge and lever the spudger to remove the casing.
- Apply constant pressure to avoid cracking the plastic casing. This step can take a few minutes.
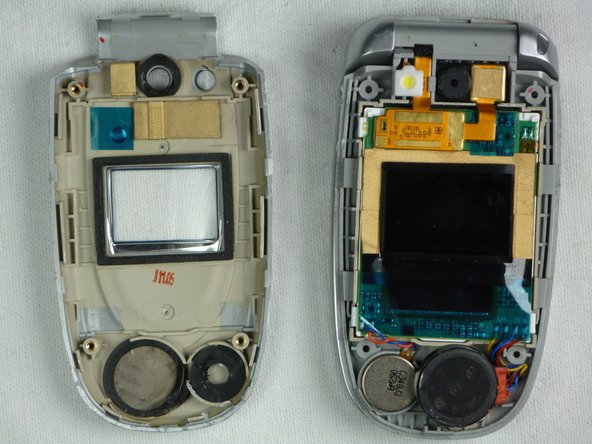
- Remove the chipboard from the screen by sliding a plastic spudger under the screen and lifting.
- Use a plastic spudger to avoid short-circuiting the phone's electronics.
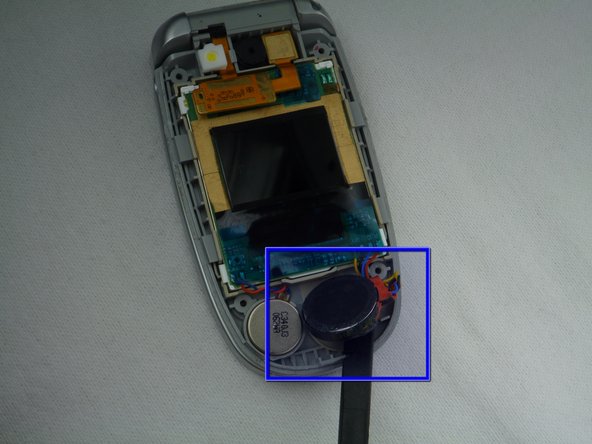
- Gently lift the speaker out of the plastic casing using a plastic spudger.
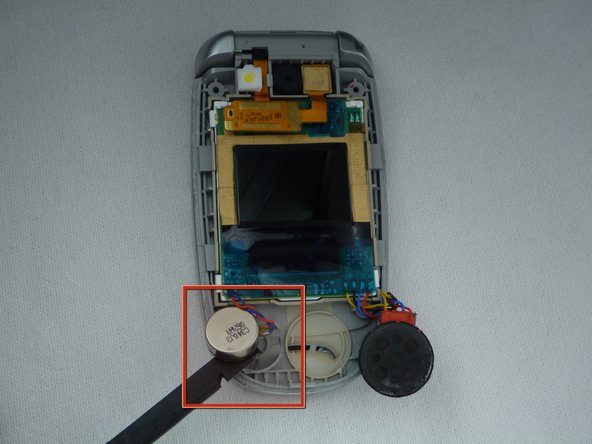
- Remove the small battery adjacent to the speaker with a plastic spudger.
- Slide and lever a plastic spudger between the screen and it's housing.
- Avoid tearing the wires connecting the screen, the small battery and the speaker.
- Remove the chip connecting the screen to the camera using your fingers.