My First Sony Cassette-Corder Teardown
ID: 1251
Description: I've had this since I was 3, I think. Anyway it...
Steps:
- Here we have a 'my first Sony' cassette player with a microphone
- It can even take a second microphone, sold seperately of course
- Main microphone plug
- Secondary Microphone plug
- This model uses four C-cell batteries, these have been in here since I was 10, hmmm... wonder if there's any juice left?
- Time to take the batteries out
- Push down at one end of each row of batteries towards the spring
- With the tension released pull out on the battery until it comes out
- Repeat until all four are removed
- Thumbs up to Sony for providing nice visual instructions for those kiddies
- To remove the red back cover you need to remove six screws placed around the border of the cover. Note! The bottom 2 screws are longer than the other 4. These 2 are 35mm long whilst the other 4 are only 30mm long. Don't mix them up !
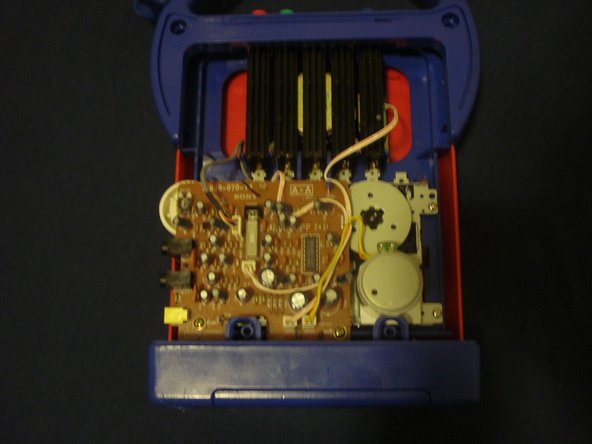
- And voilà! Now we have a nice view of all the internal components
- Remove one screw to take off the rear part of the carrying handle
- We also gain access to the rubber microphone holder
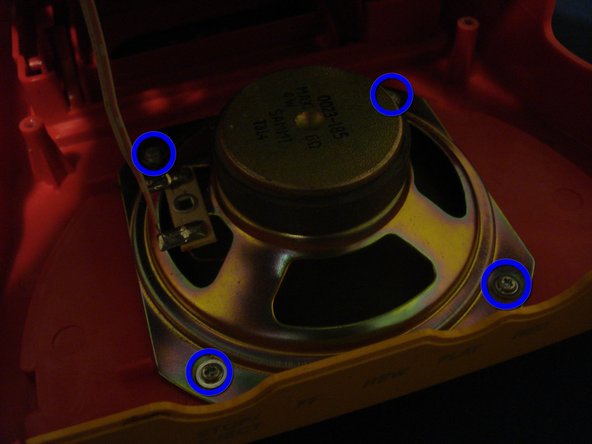
- To remove the speaker first you'll need to get some slack on the wire, do this by pulling it out of a plastic holder thing
- Proceed to to lift up the blue chassis and remove the four screws holding the speaker down
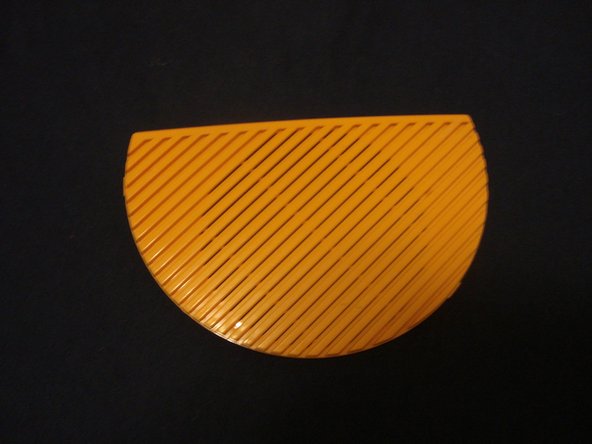
- These screws also hold the yellow speaker grill to the front
- It was a bit of a fight but I was able to pull the blue chassis out of the front piece of the red case
- There were no fasteners holding them together
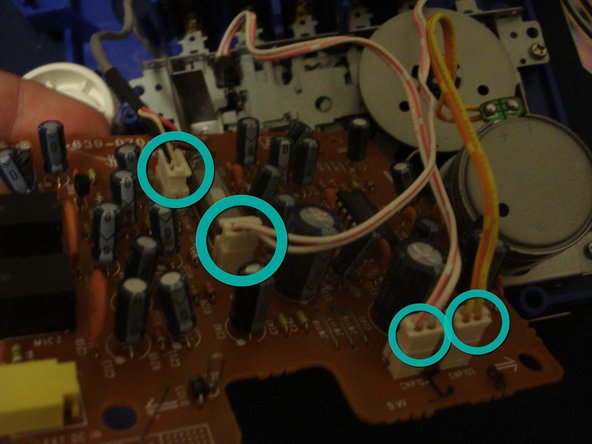
- Take out three screws to remove the main circuit board
- Then unplug four sockets attached to the circuit board
- And here we have the only circuit board in this device, don't see any big processors on it, I guess I can't turn it into a super computer :(
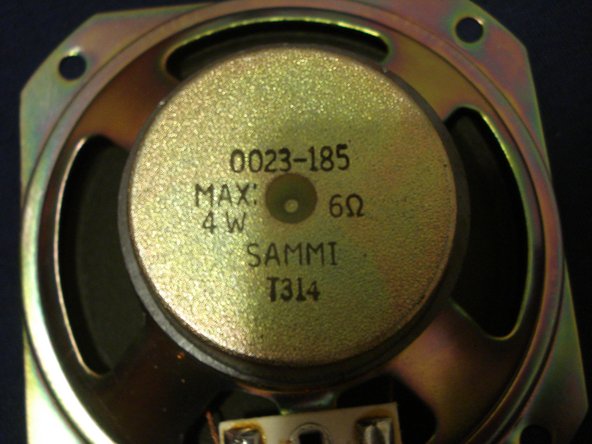
- After unplugging the circuit board we can completely remove the speaker
- It packs a whopping 3 1/2 inch speaker
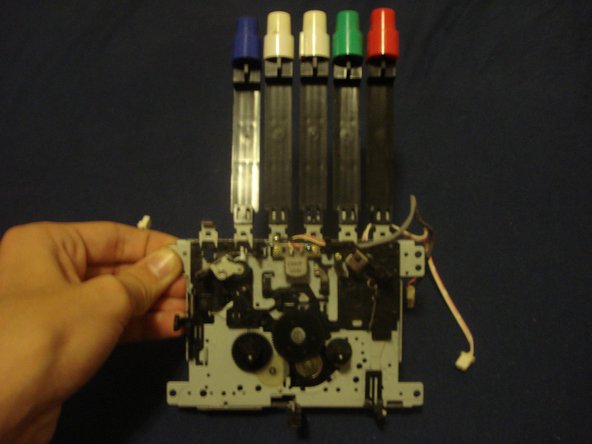
- Remove four screws to loosen the tape drive chassis
- Then pull up and back to take the chassis out
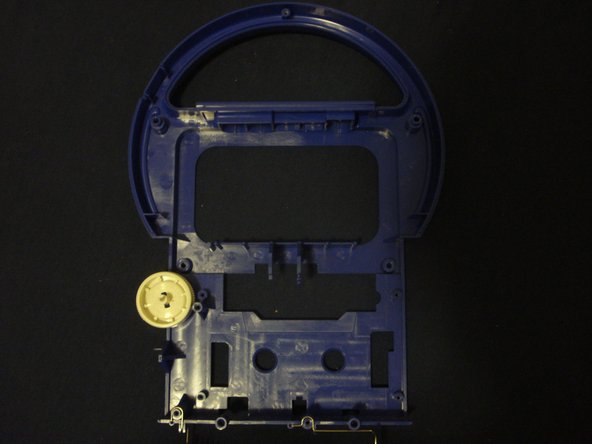
- With the tape drive chassis on its own we can look at Sony's weird button system, we also have the blue chassis with no components on it
- Take out two screws to remove the tape reader/writer
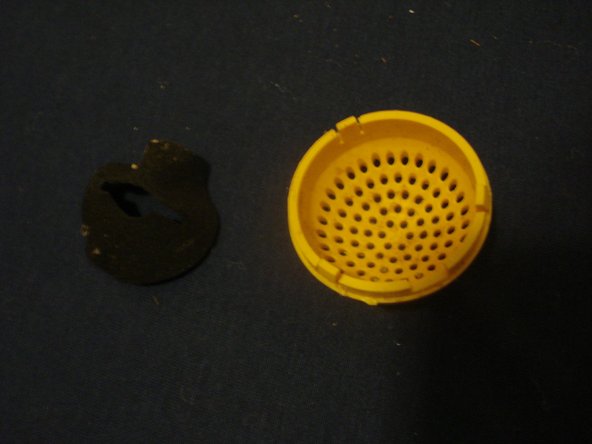
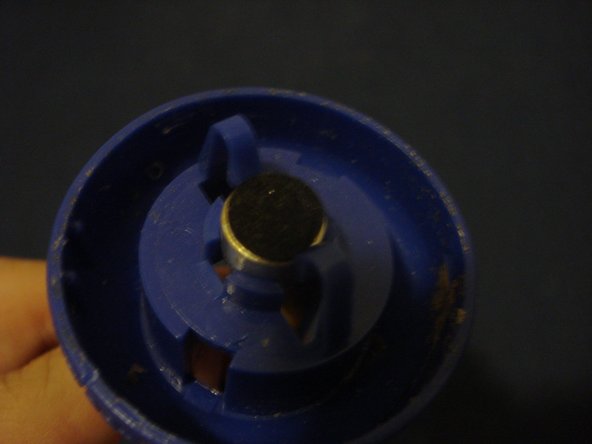
- To take the microphone apart just pull very hard on the red handle and it will come out, its held on by two tabs
- Take off the yellow cover by wedging a flathead screwdriver in the crack and prying it off
- Now we can look at a little microphone, and surprisingly it even has its own windscreen
- So here we have it all disassembled, and THERE WERE NO 'WARRANTY VOID' STICKERS ANYWHERE!!!